Firebase
1.- Enter https://firebase.google.com/ and click on Start
2.- Click on Create a project
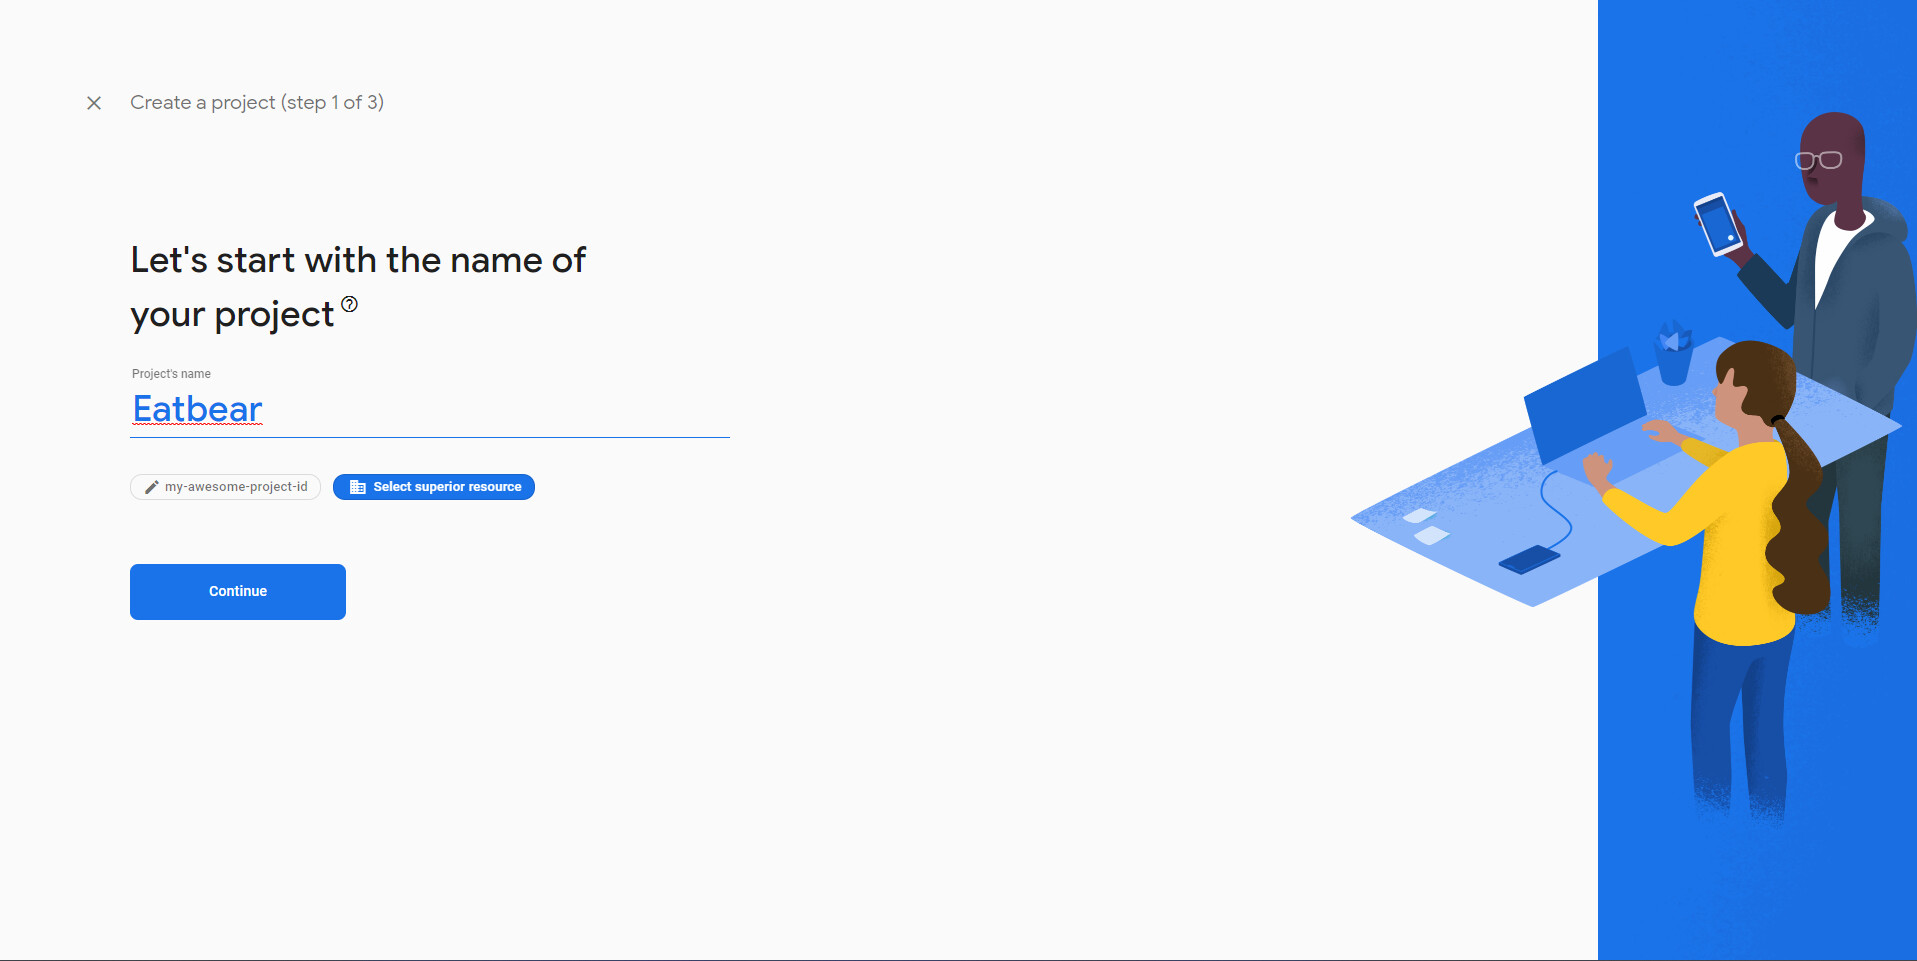
3.- Write the name of your project click on the box to accept the conditions of
Firebase and then click on Continue
*Write the same name of your Apphive project.
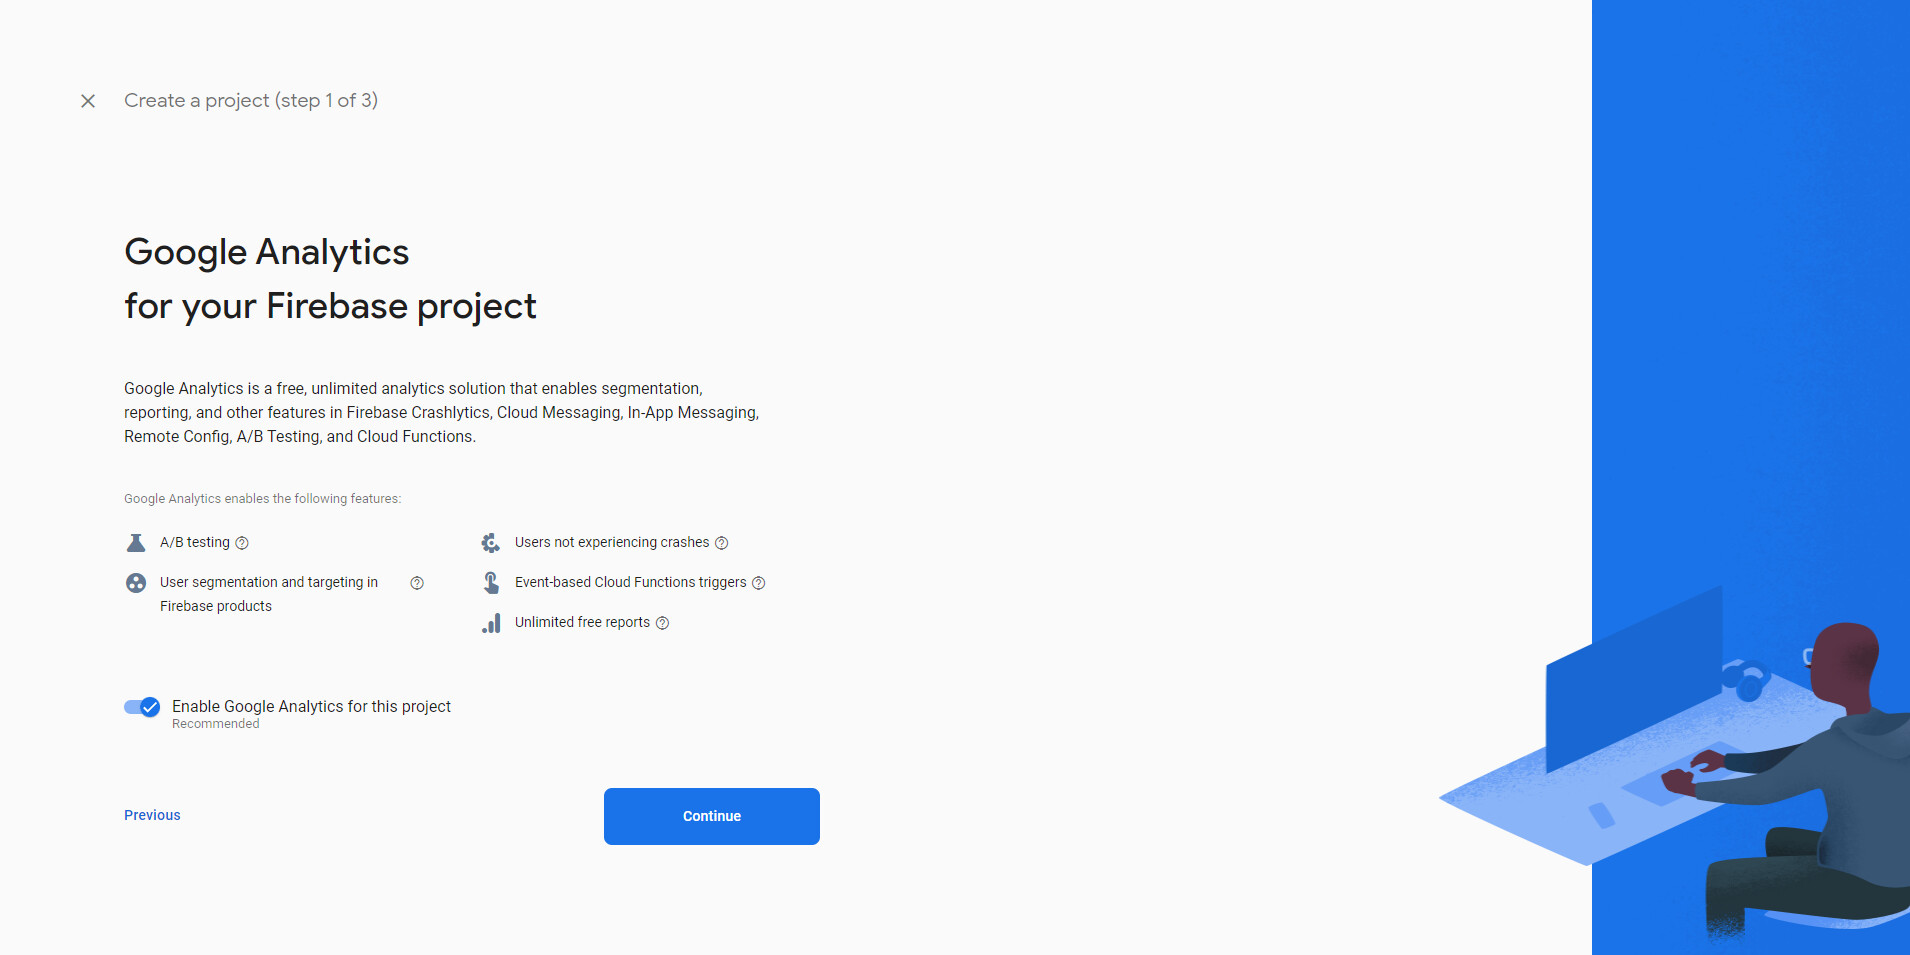
4.- Click on Continue.
Option 1: You can enable Google Analytics, this will allow you to have the behavior
statistics of your database and users.
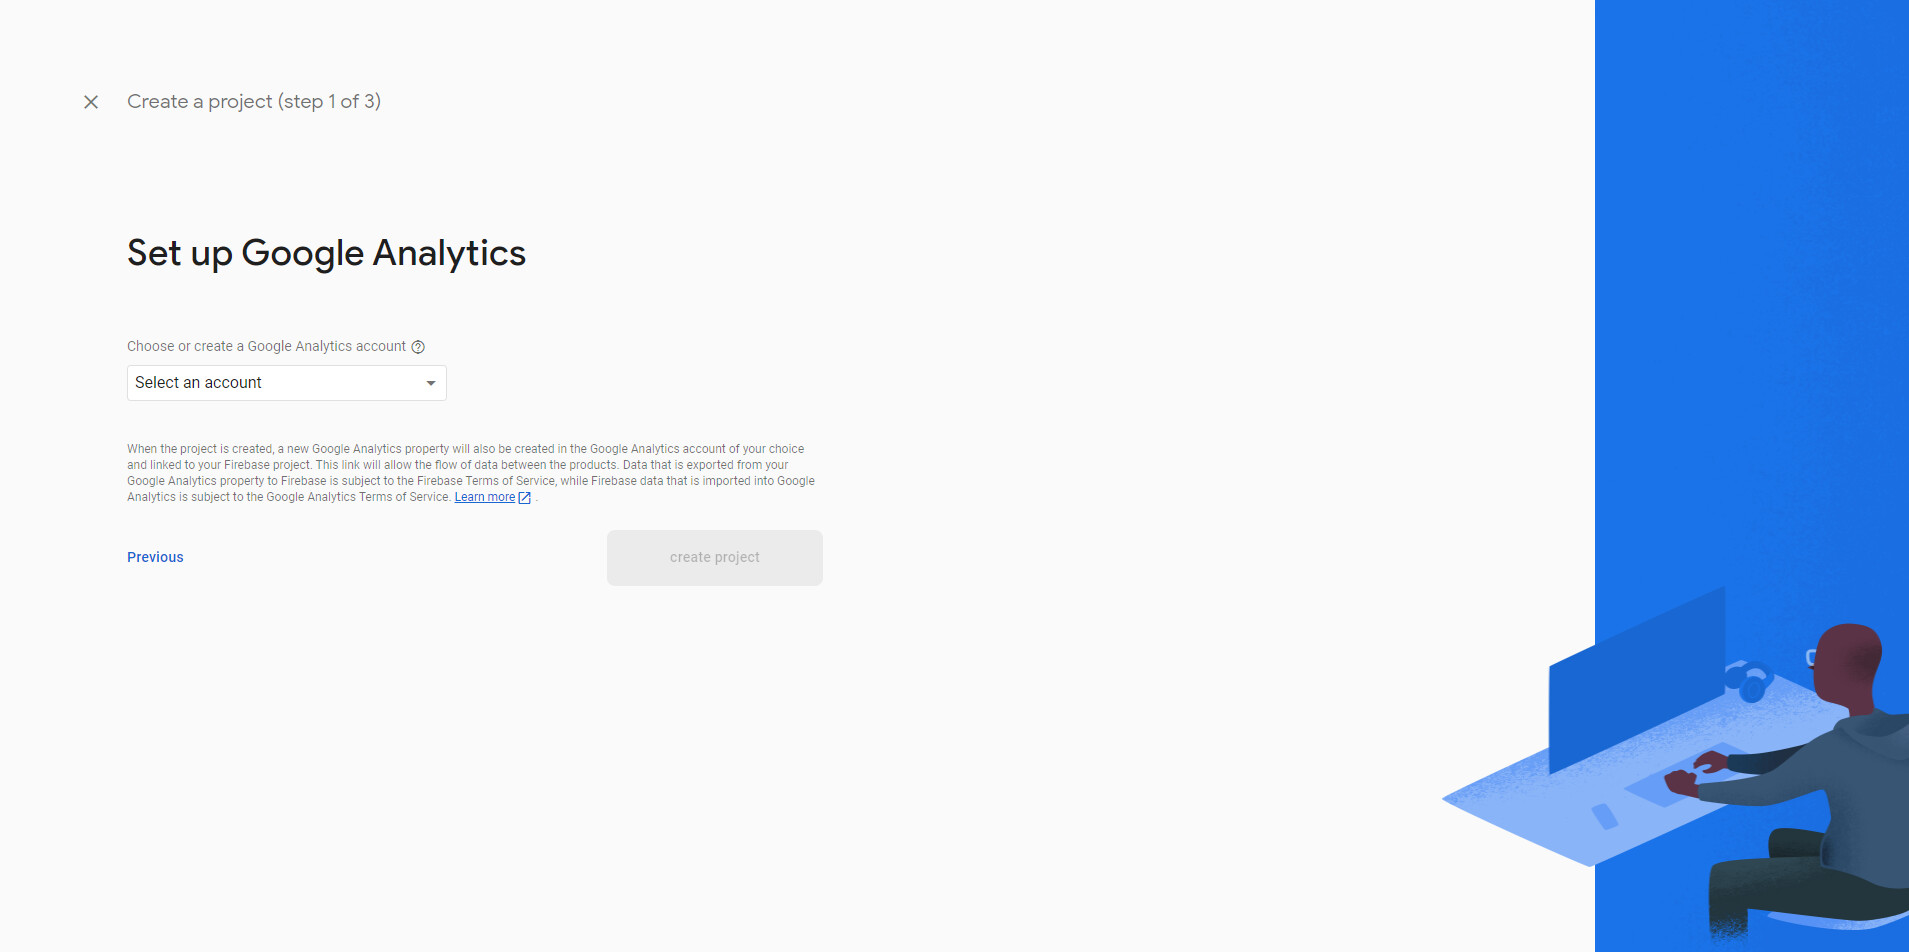
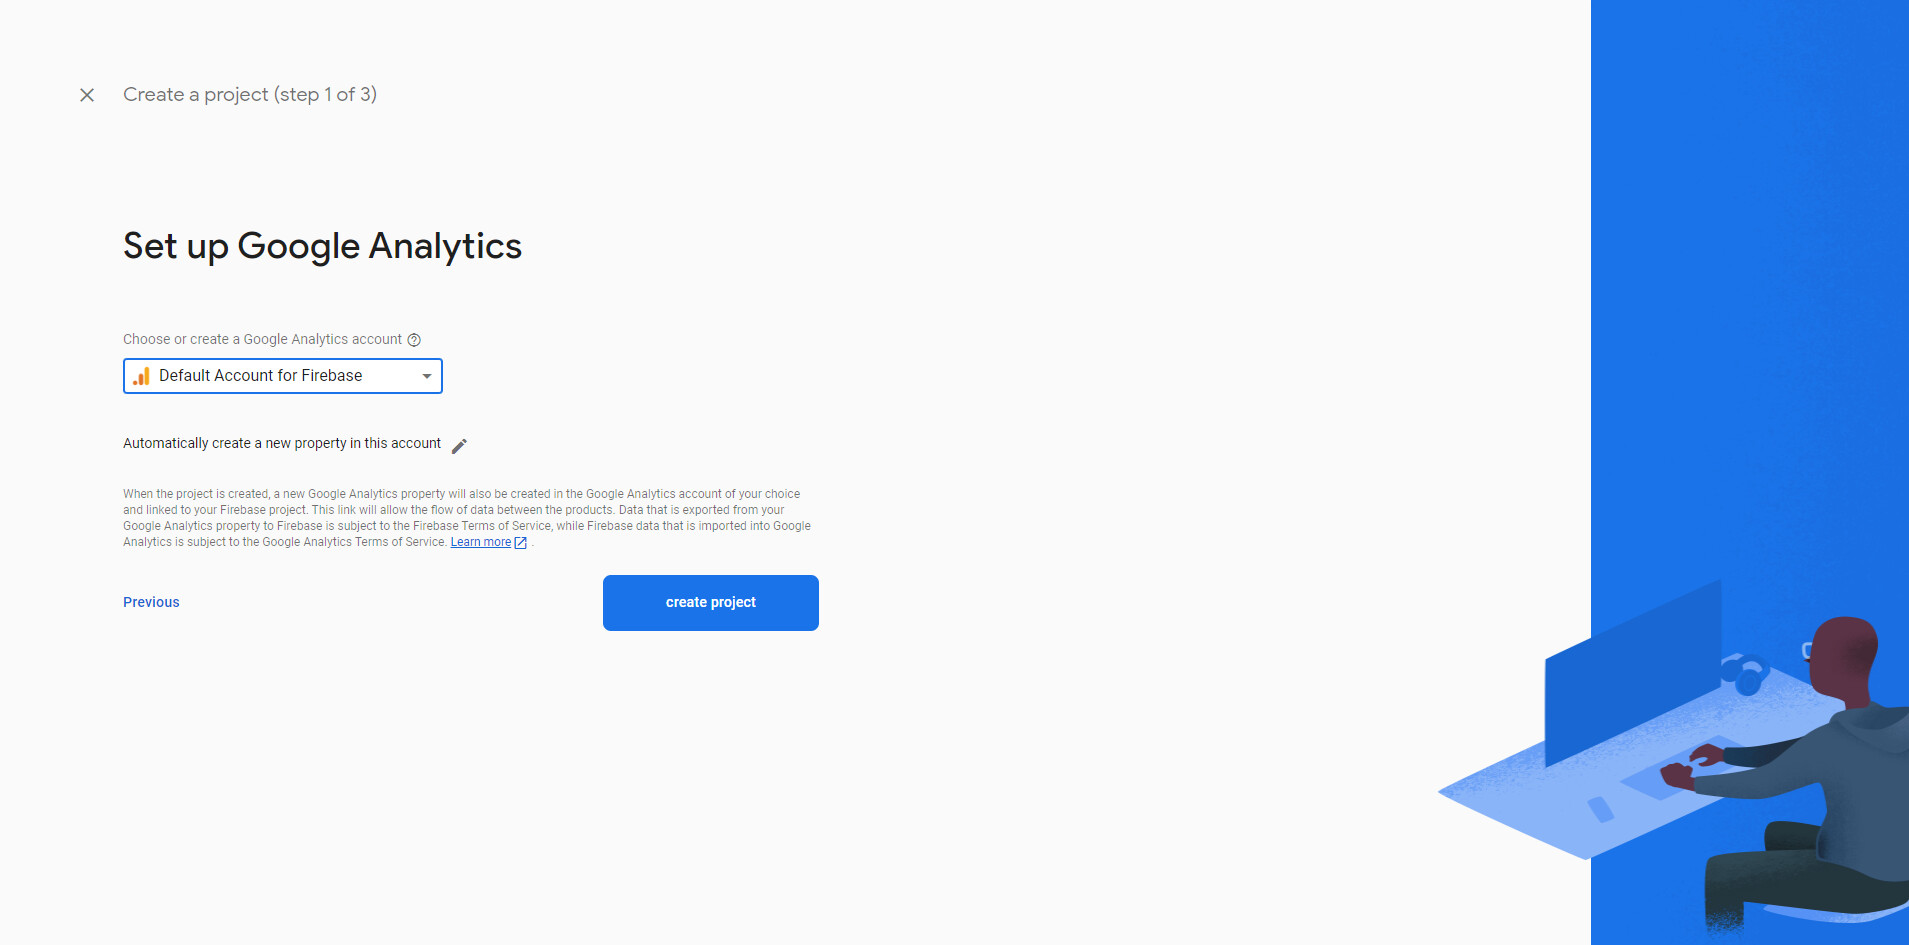
Option 2: Select or create an account
Option 3: Write the name of your project and click on Save
Option 4: Select your country, click on the three boxes to allow permissions and
service conditions; click on Continue.
5.- Wait until the project is ready and then click on Continue
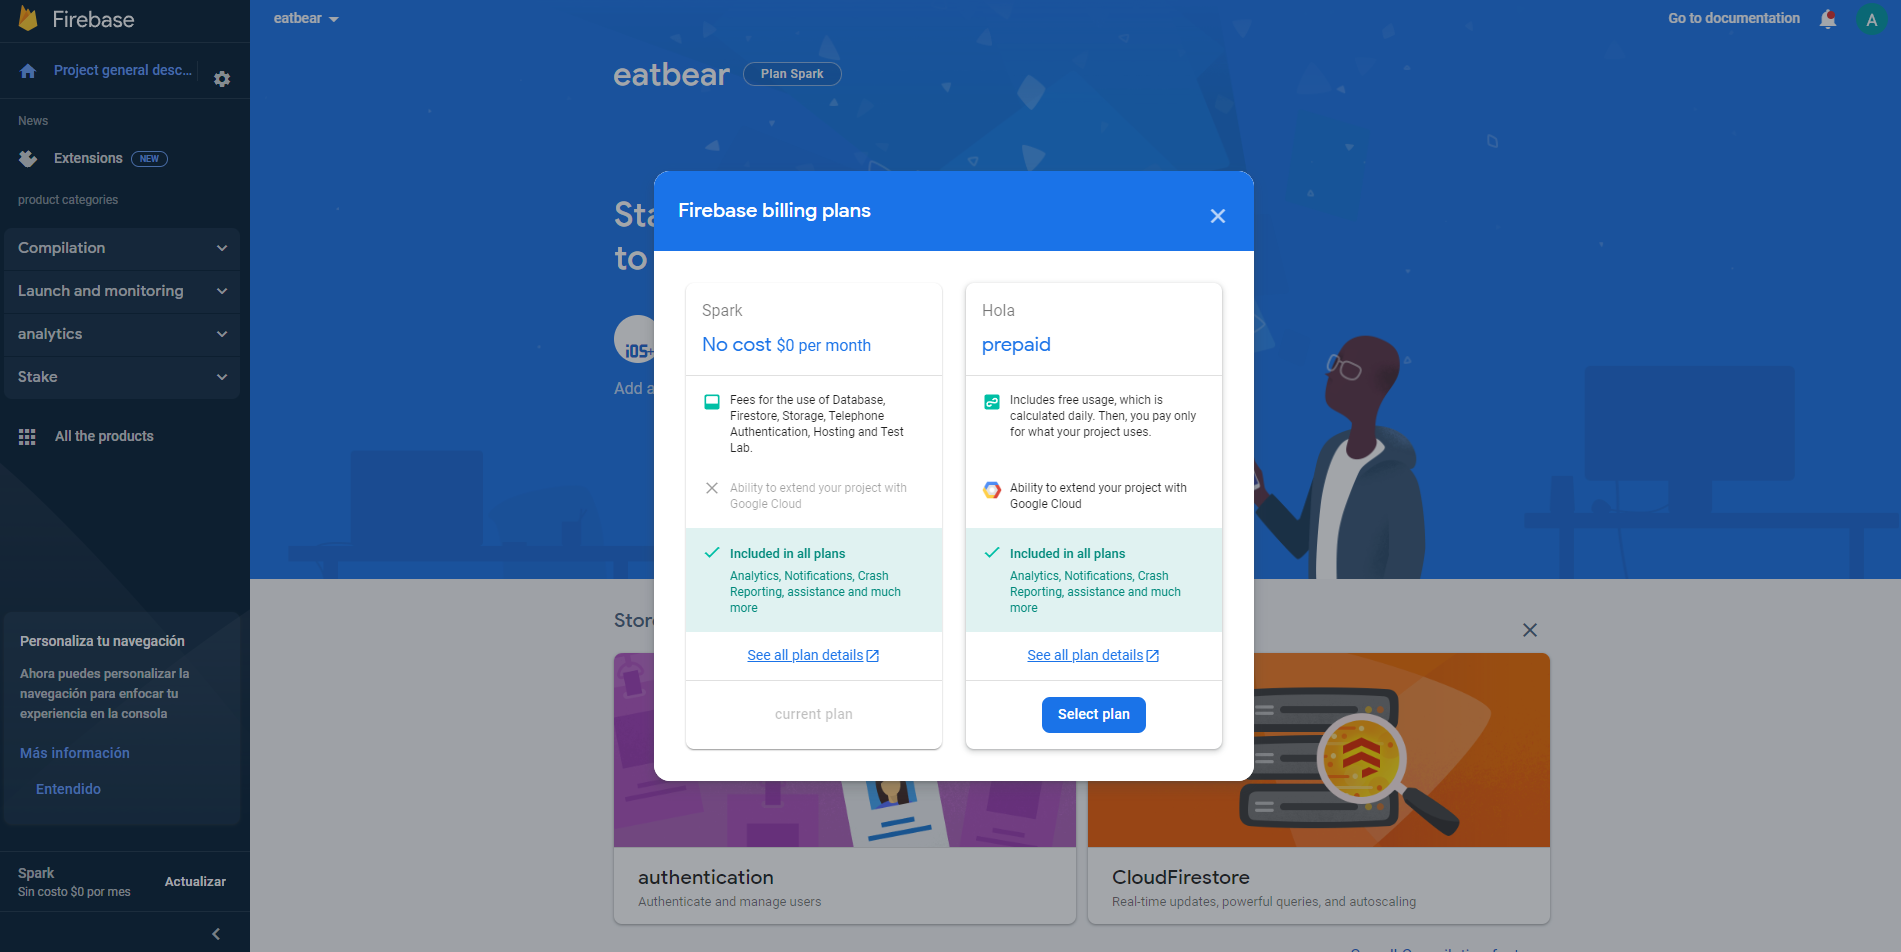
6.- You must update your plan to Blaze plan to compilate, click on Update and click
on Select plan.
7.- Click on Continue
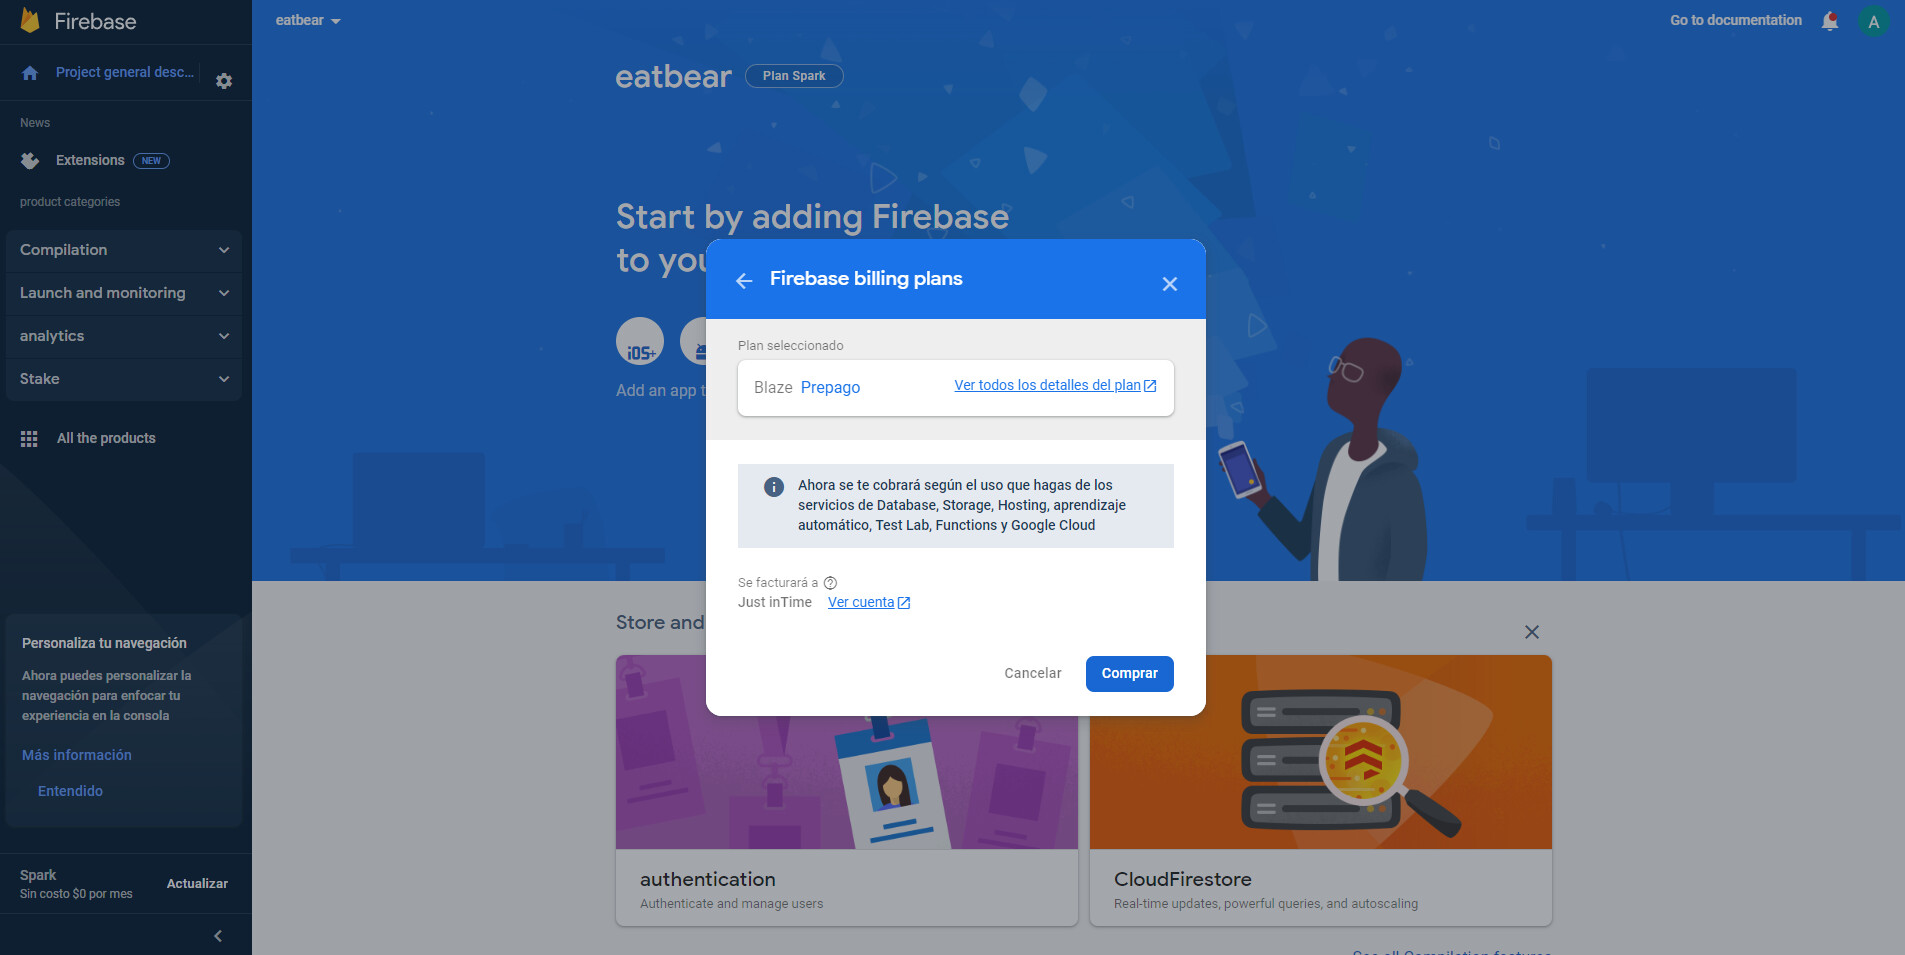
8.- Check that your data is correct, otherwise click on the Edit icon and modify it.
9.- Add the credit or debit card number, the expiration date, the security code,
cardholder name, verify that the address added previously is the same as the card
has, and click on Confirm purchase.
10.- Select Functions and click on Starts
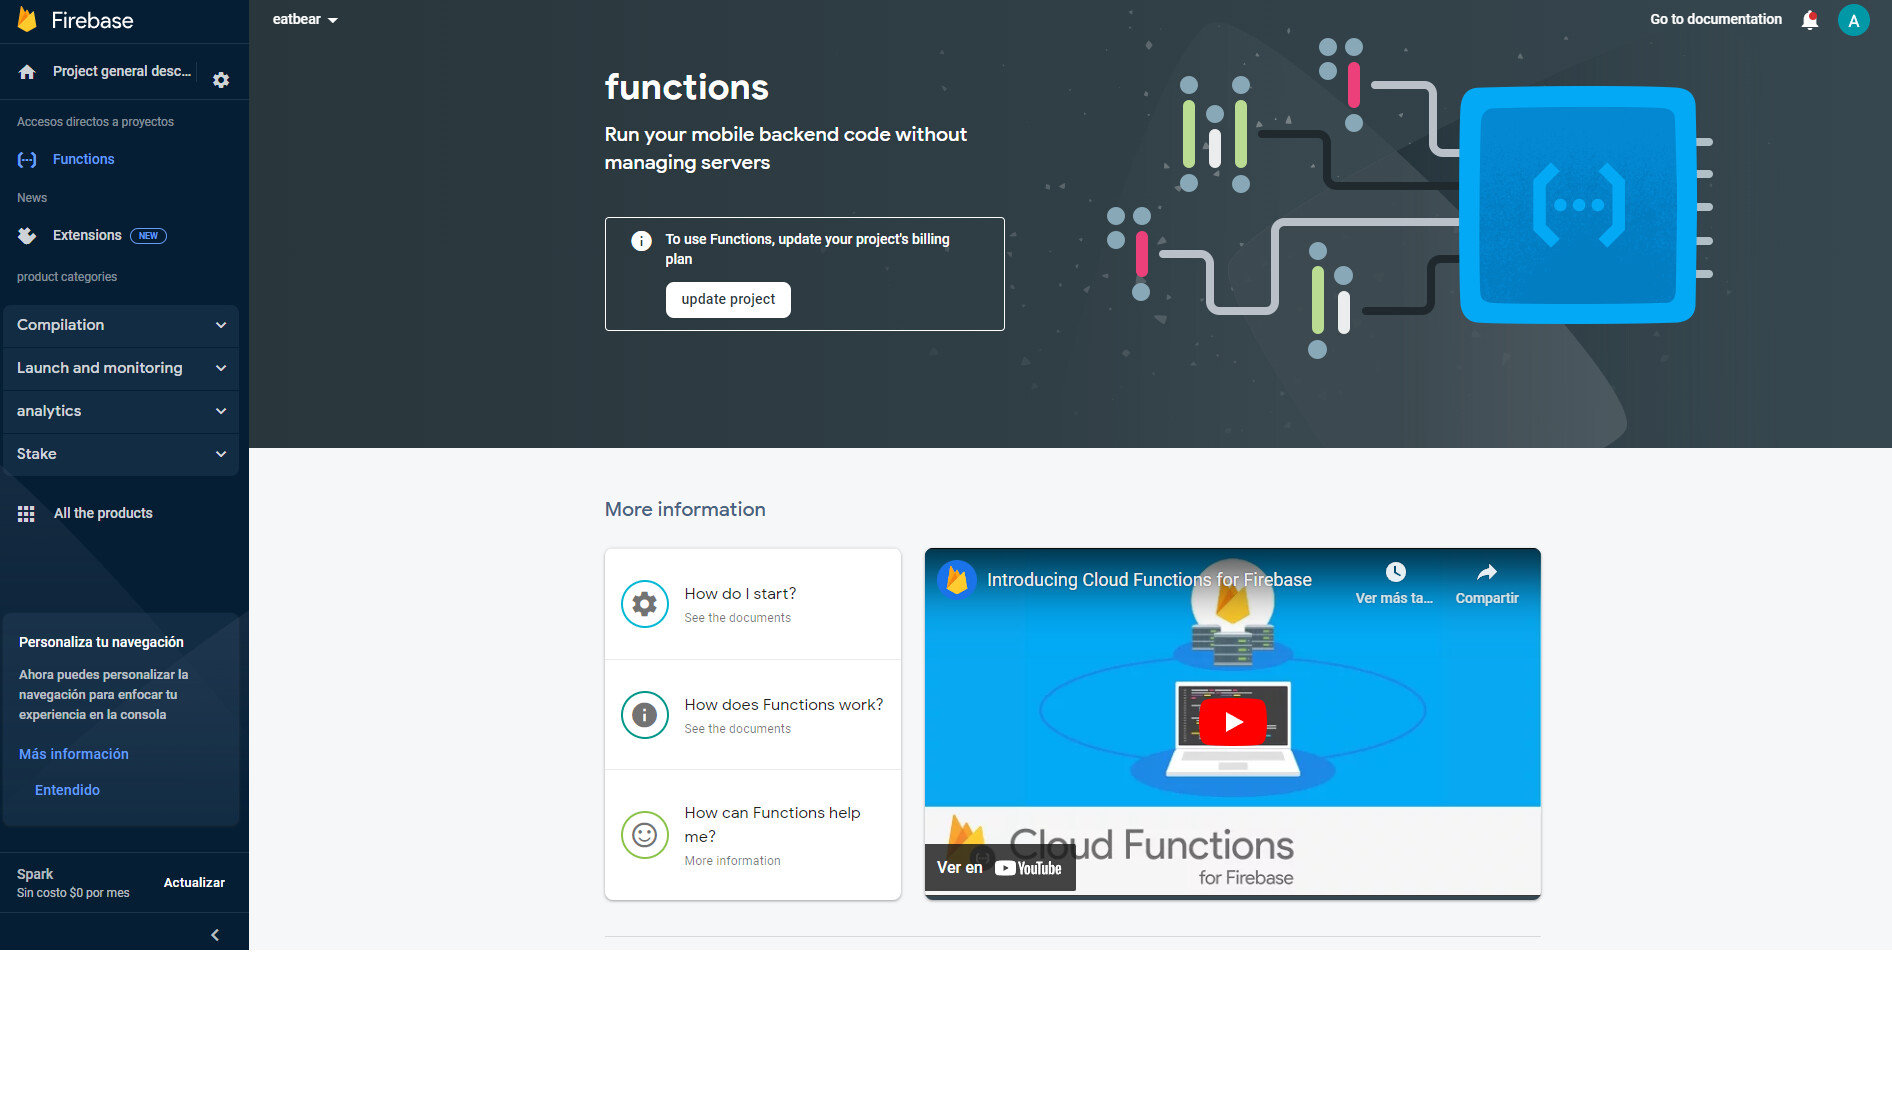
11.- Click on continue
12.- Click on Finish
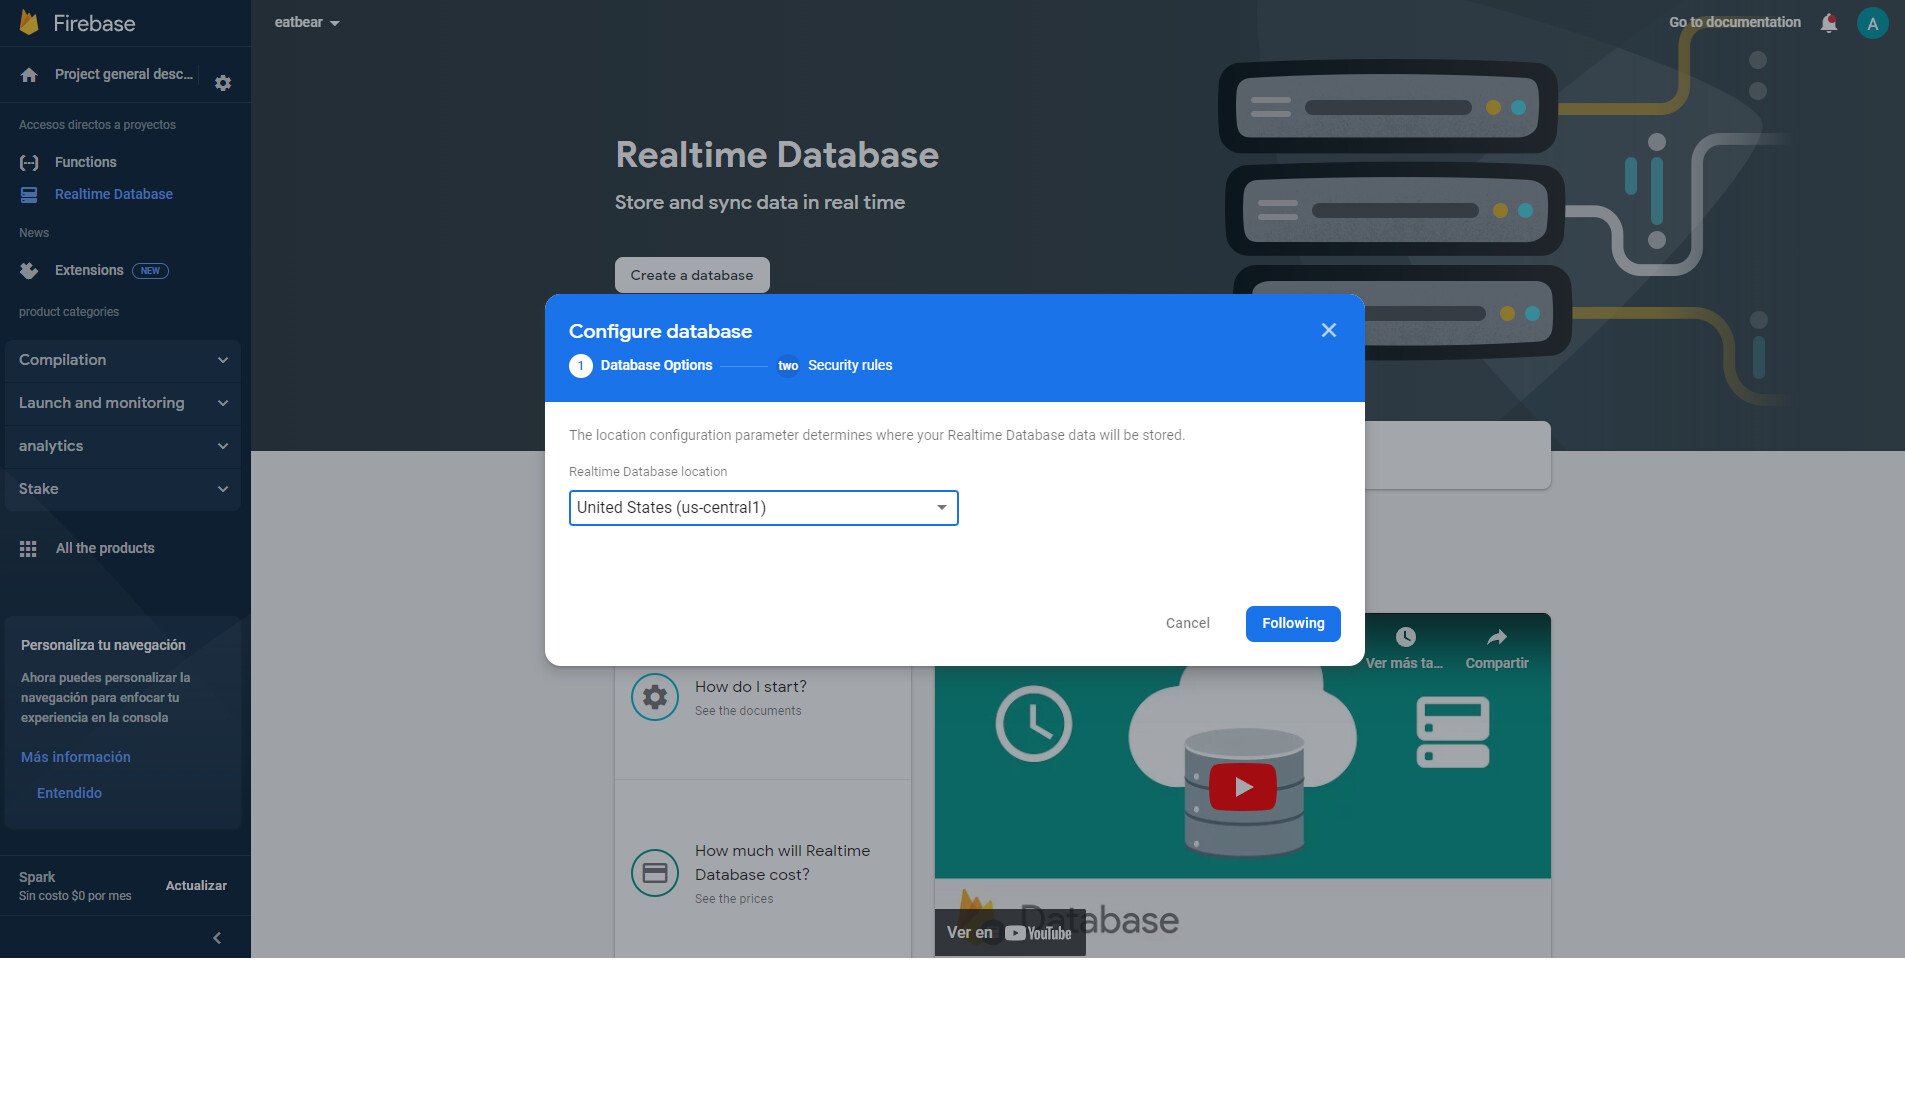
13.- Select Realtime Database and click on “create a database”
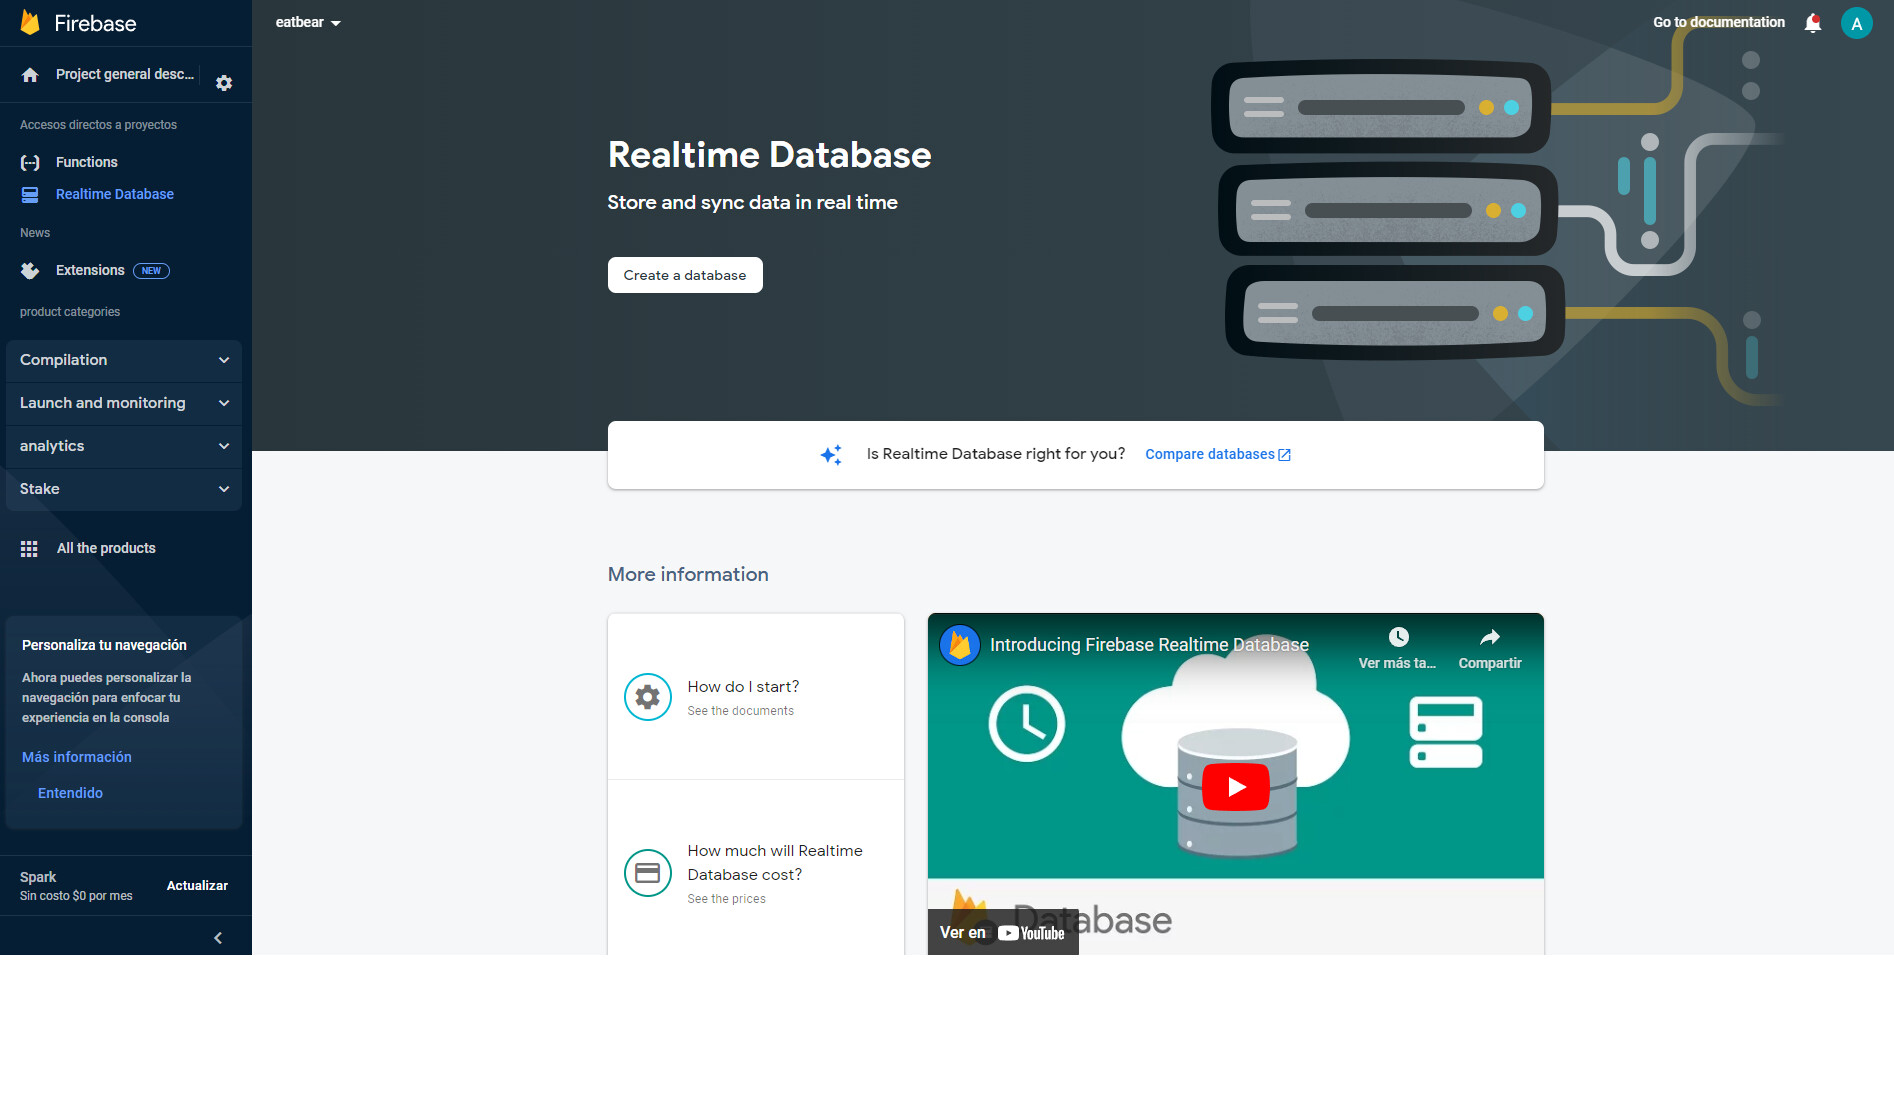
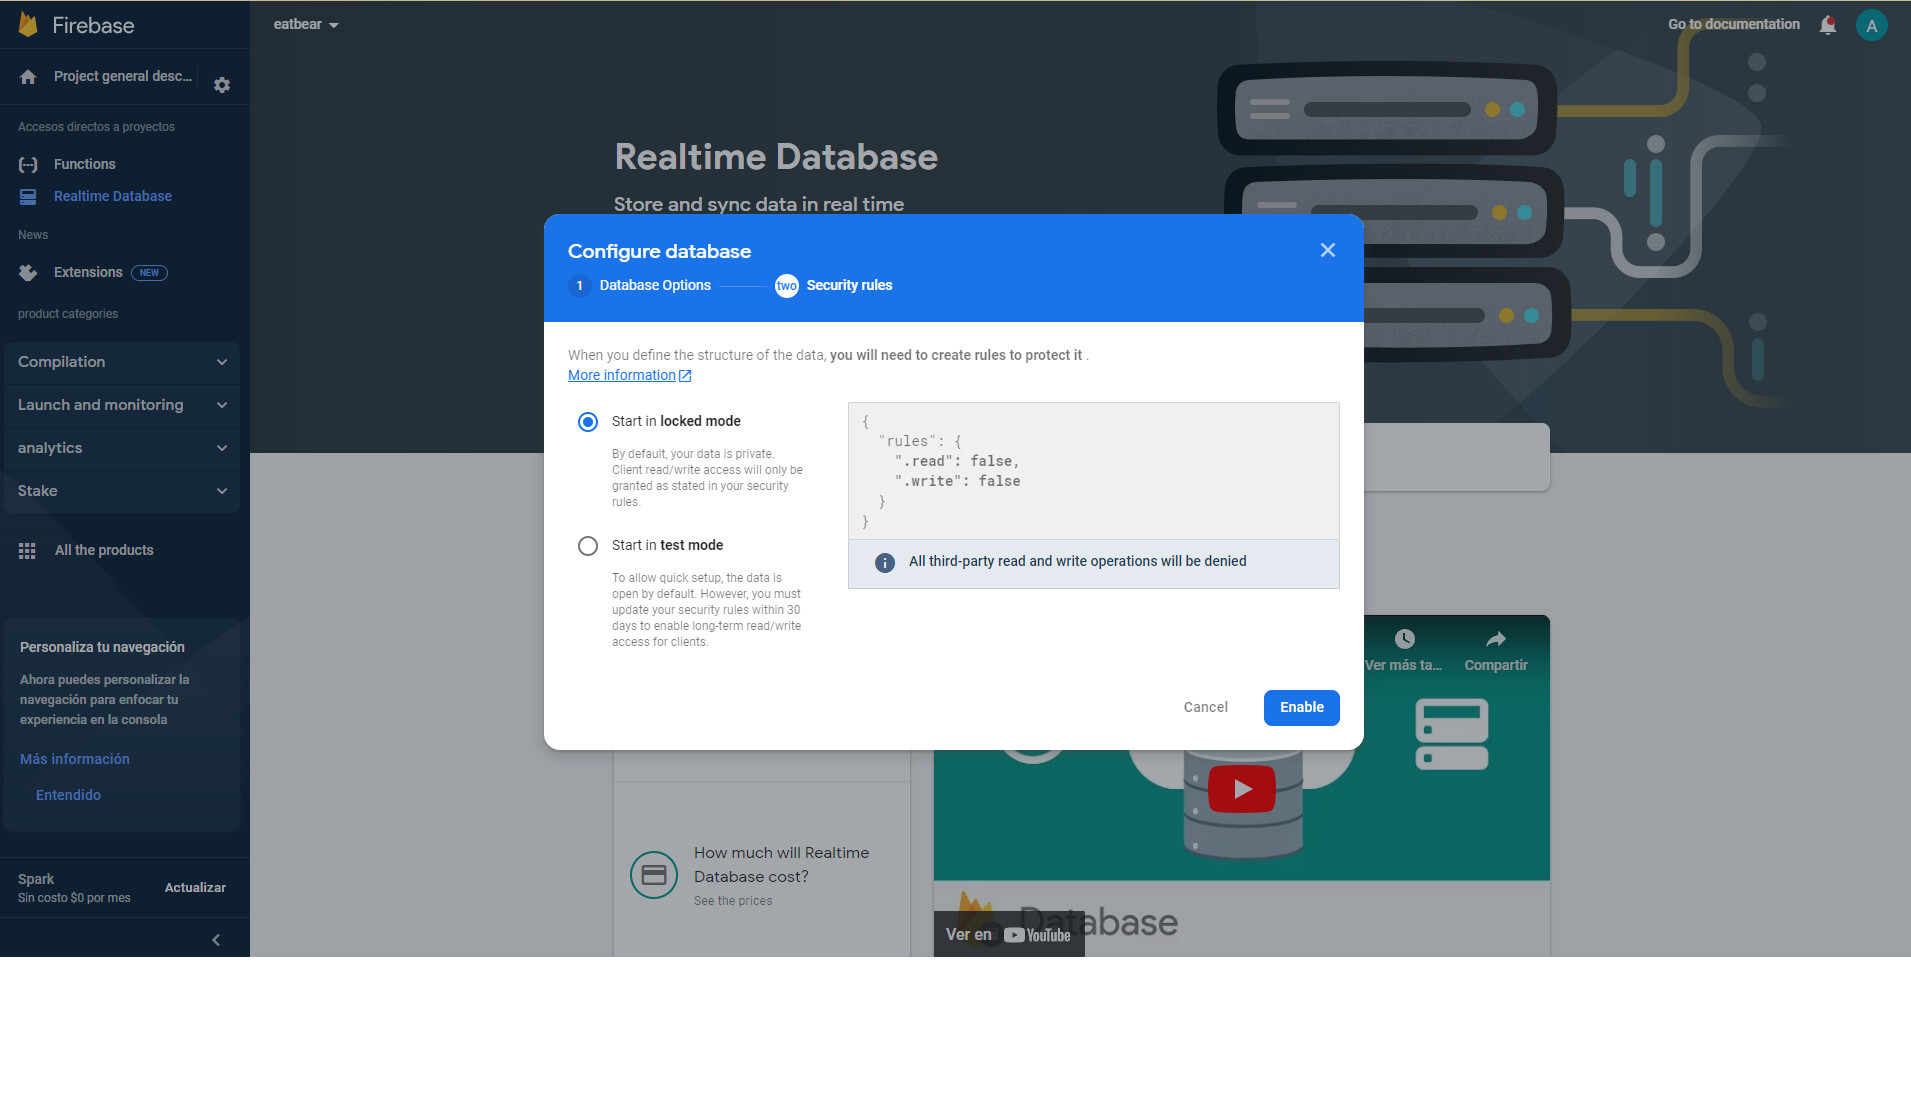
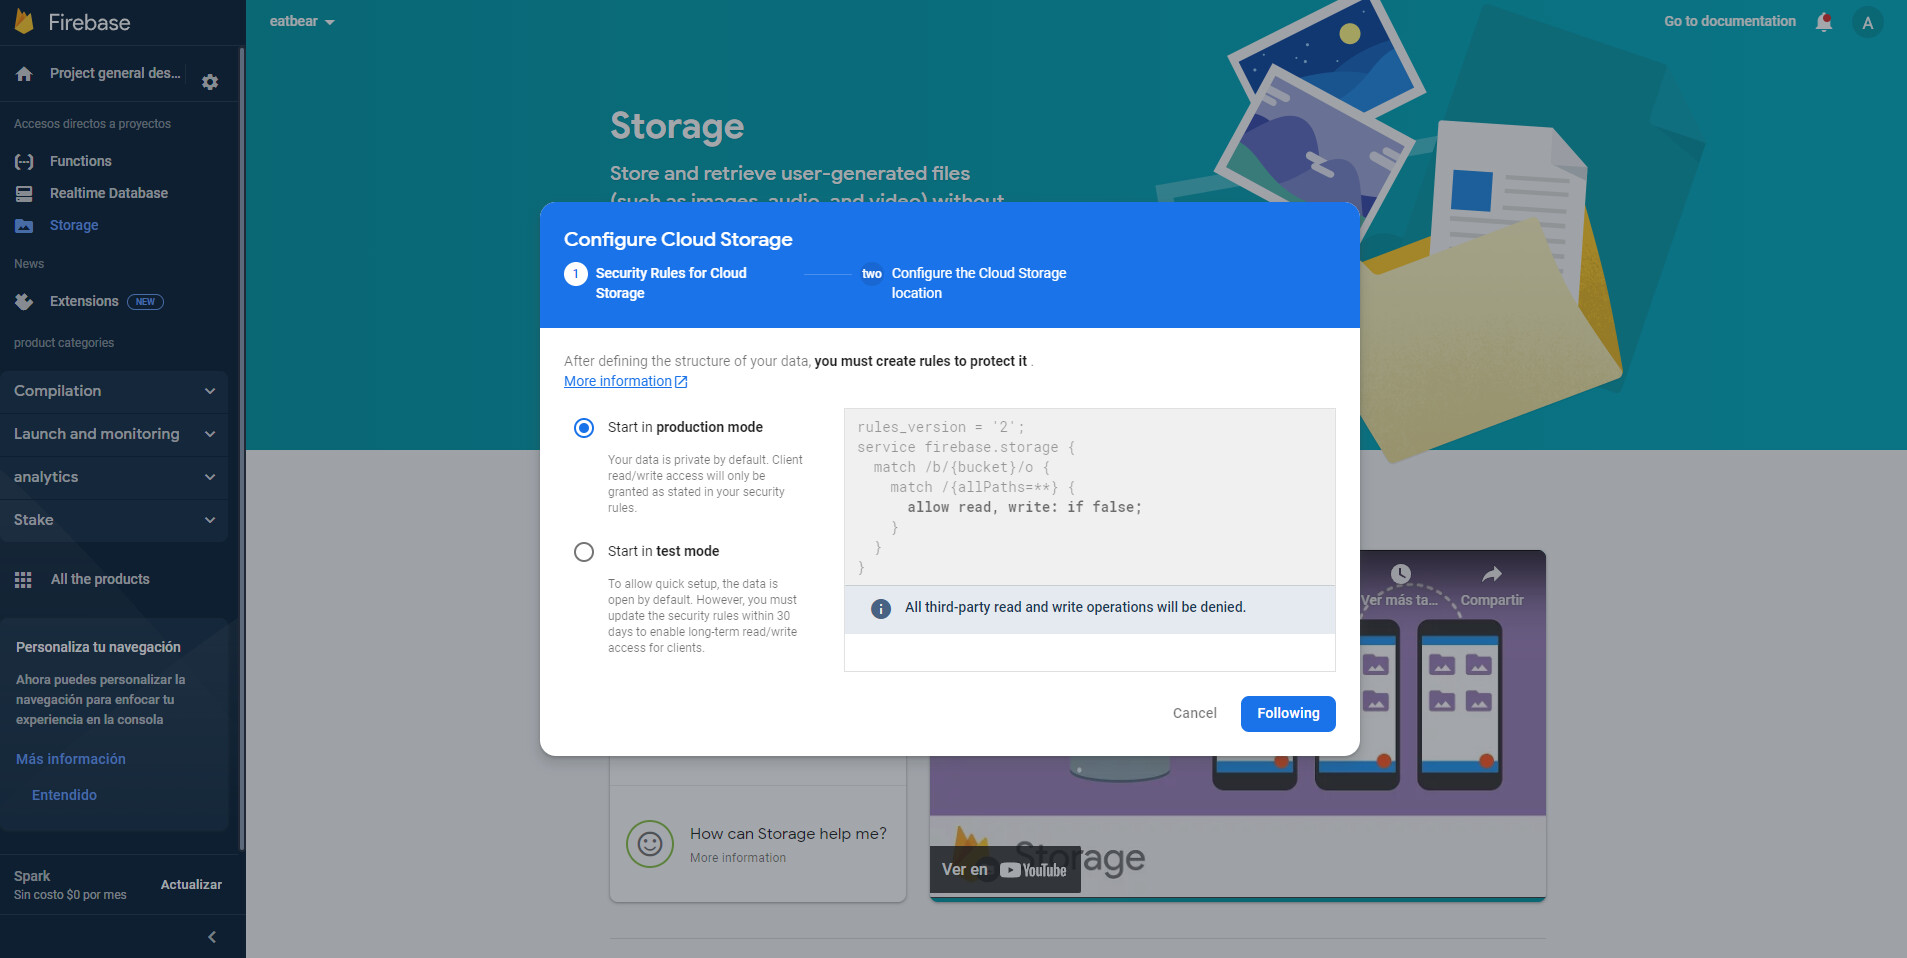
14.- Select Start in locked mode and click on Activate
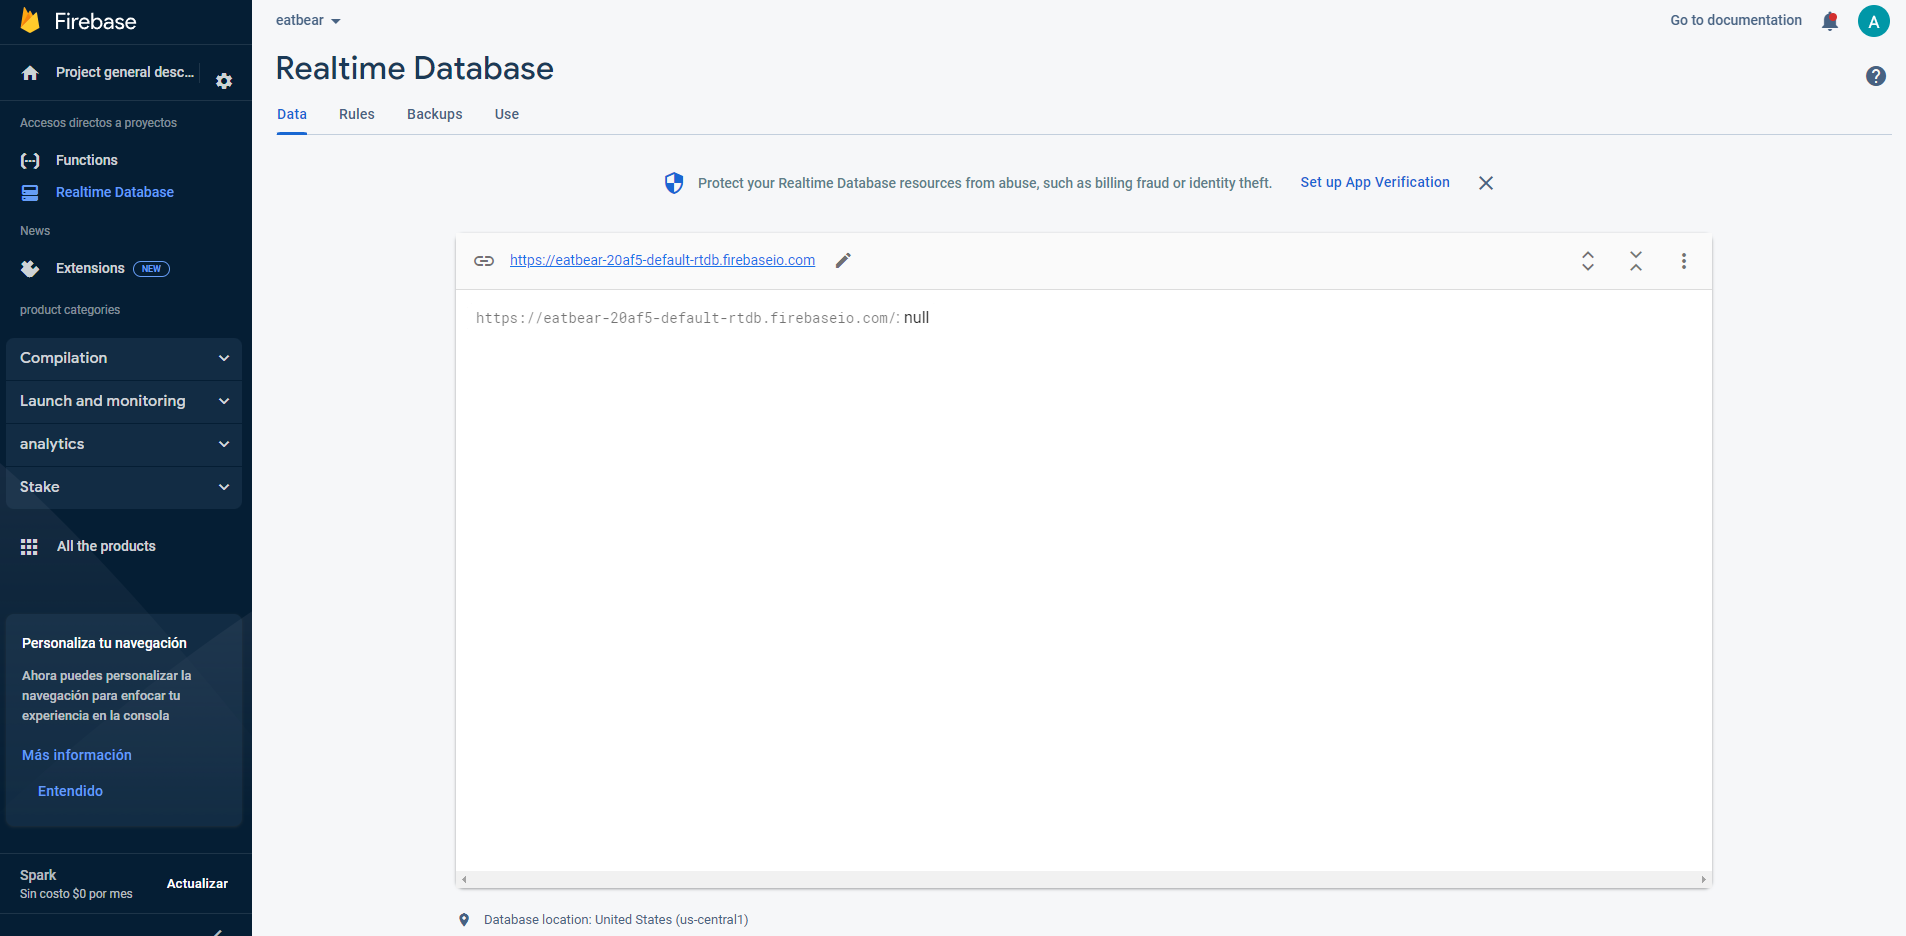
15.- Select the URL as below, it’s important to note this info, as it will be
requested to generate your compilation.
- FIREBASE REAL-TIME DATABASE URL: https://uber-eats-plantilla.firebaseio.com/
16.- Click on Back-up copy, and Start
17.- Click on Continue, open Advanced options, enable compression, enable the
storage life-cycle: 30 days and click on Save.
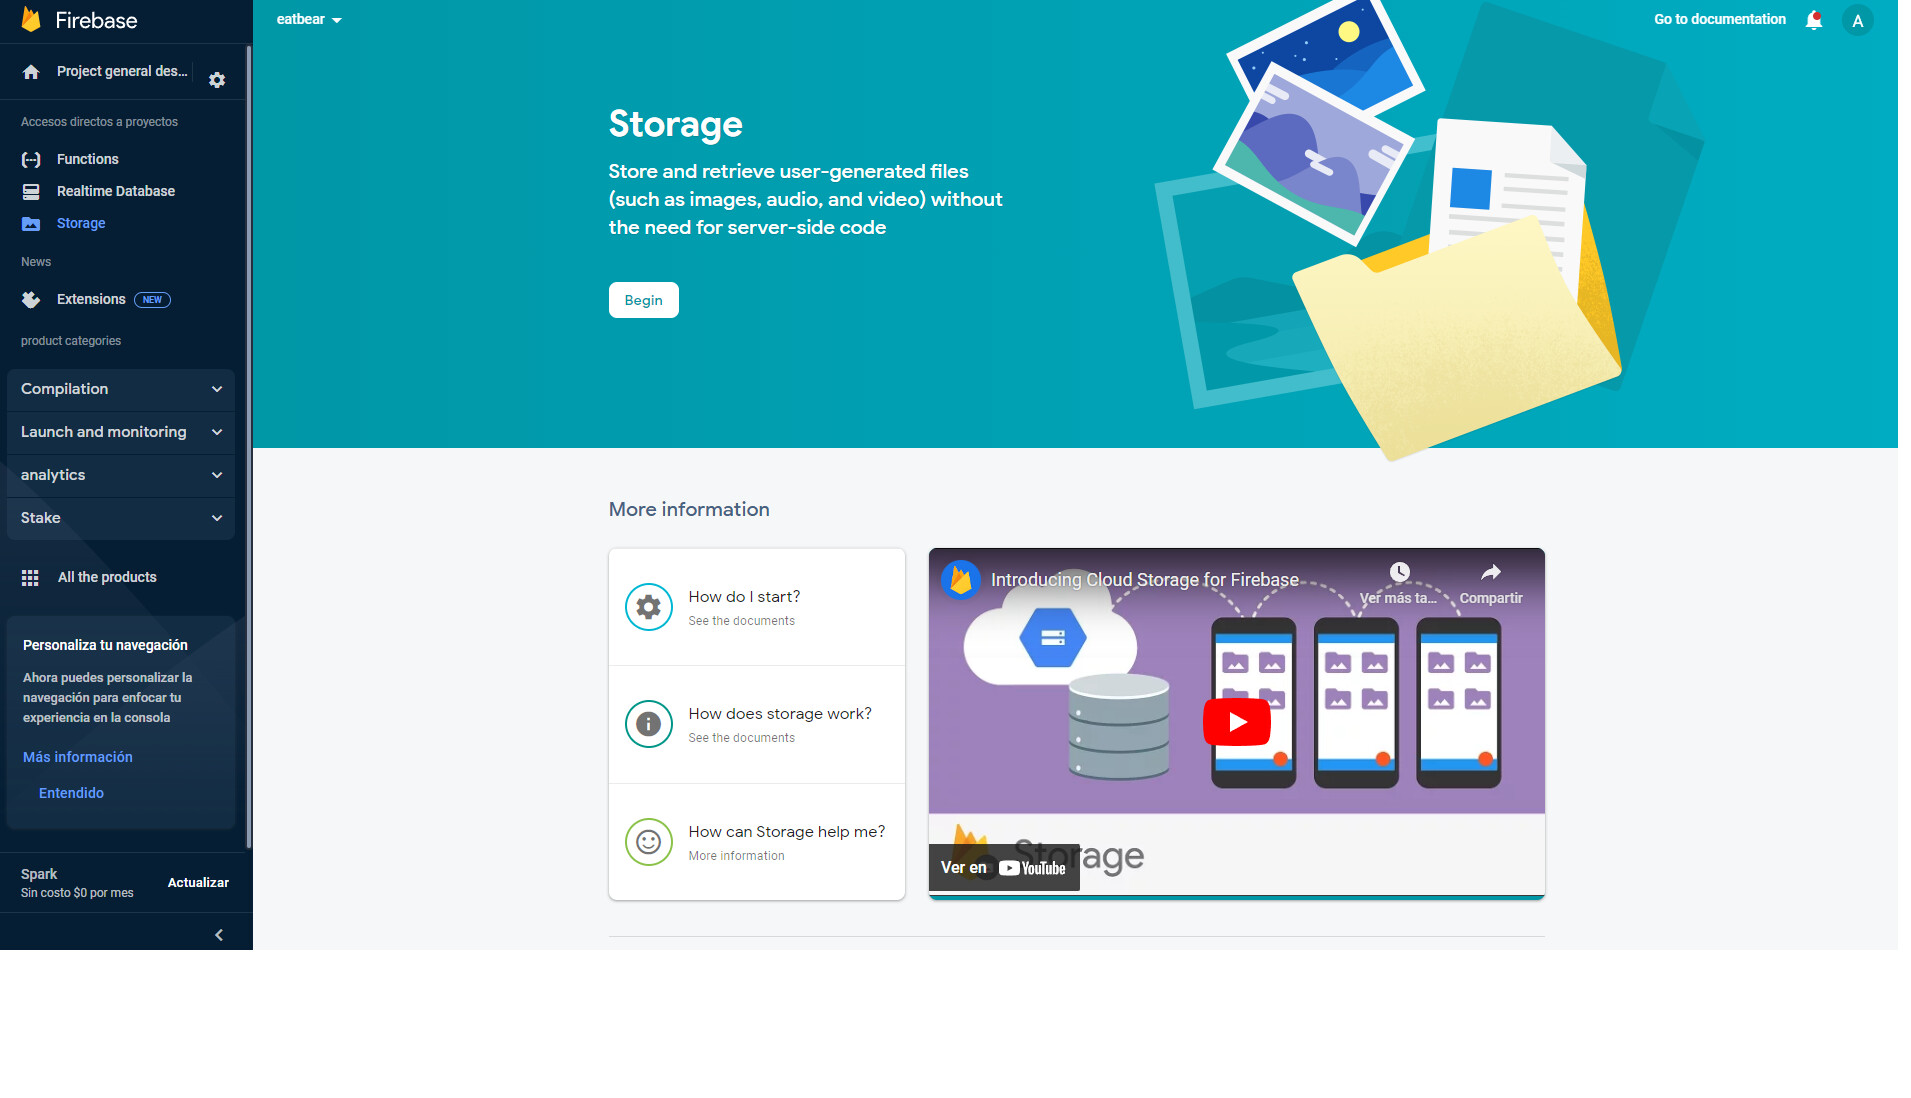
18.- Select Storage and click on Start
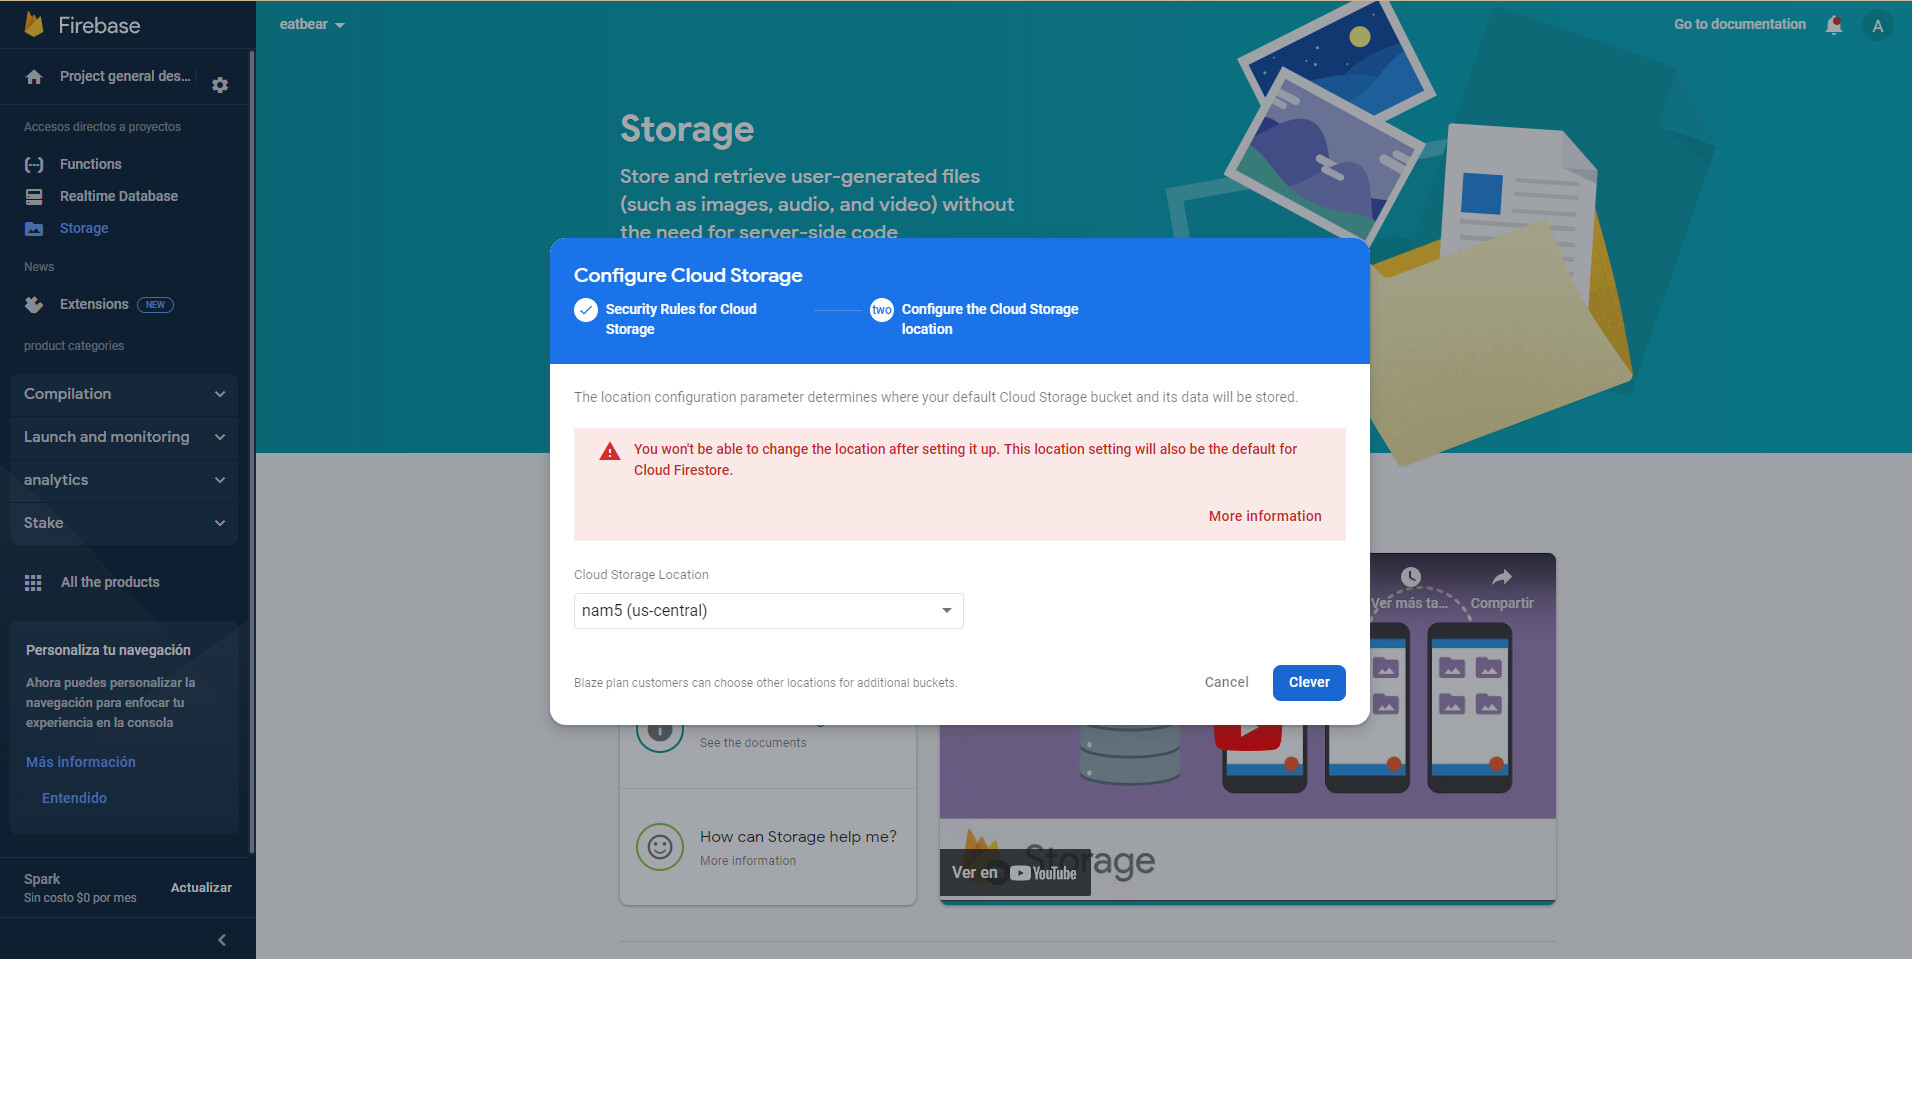
19.- Click on Next, verify that Nam5 is in location (us-central) and click on ready.
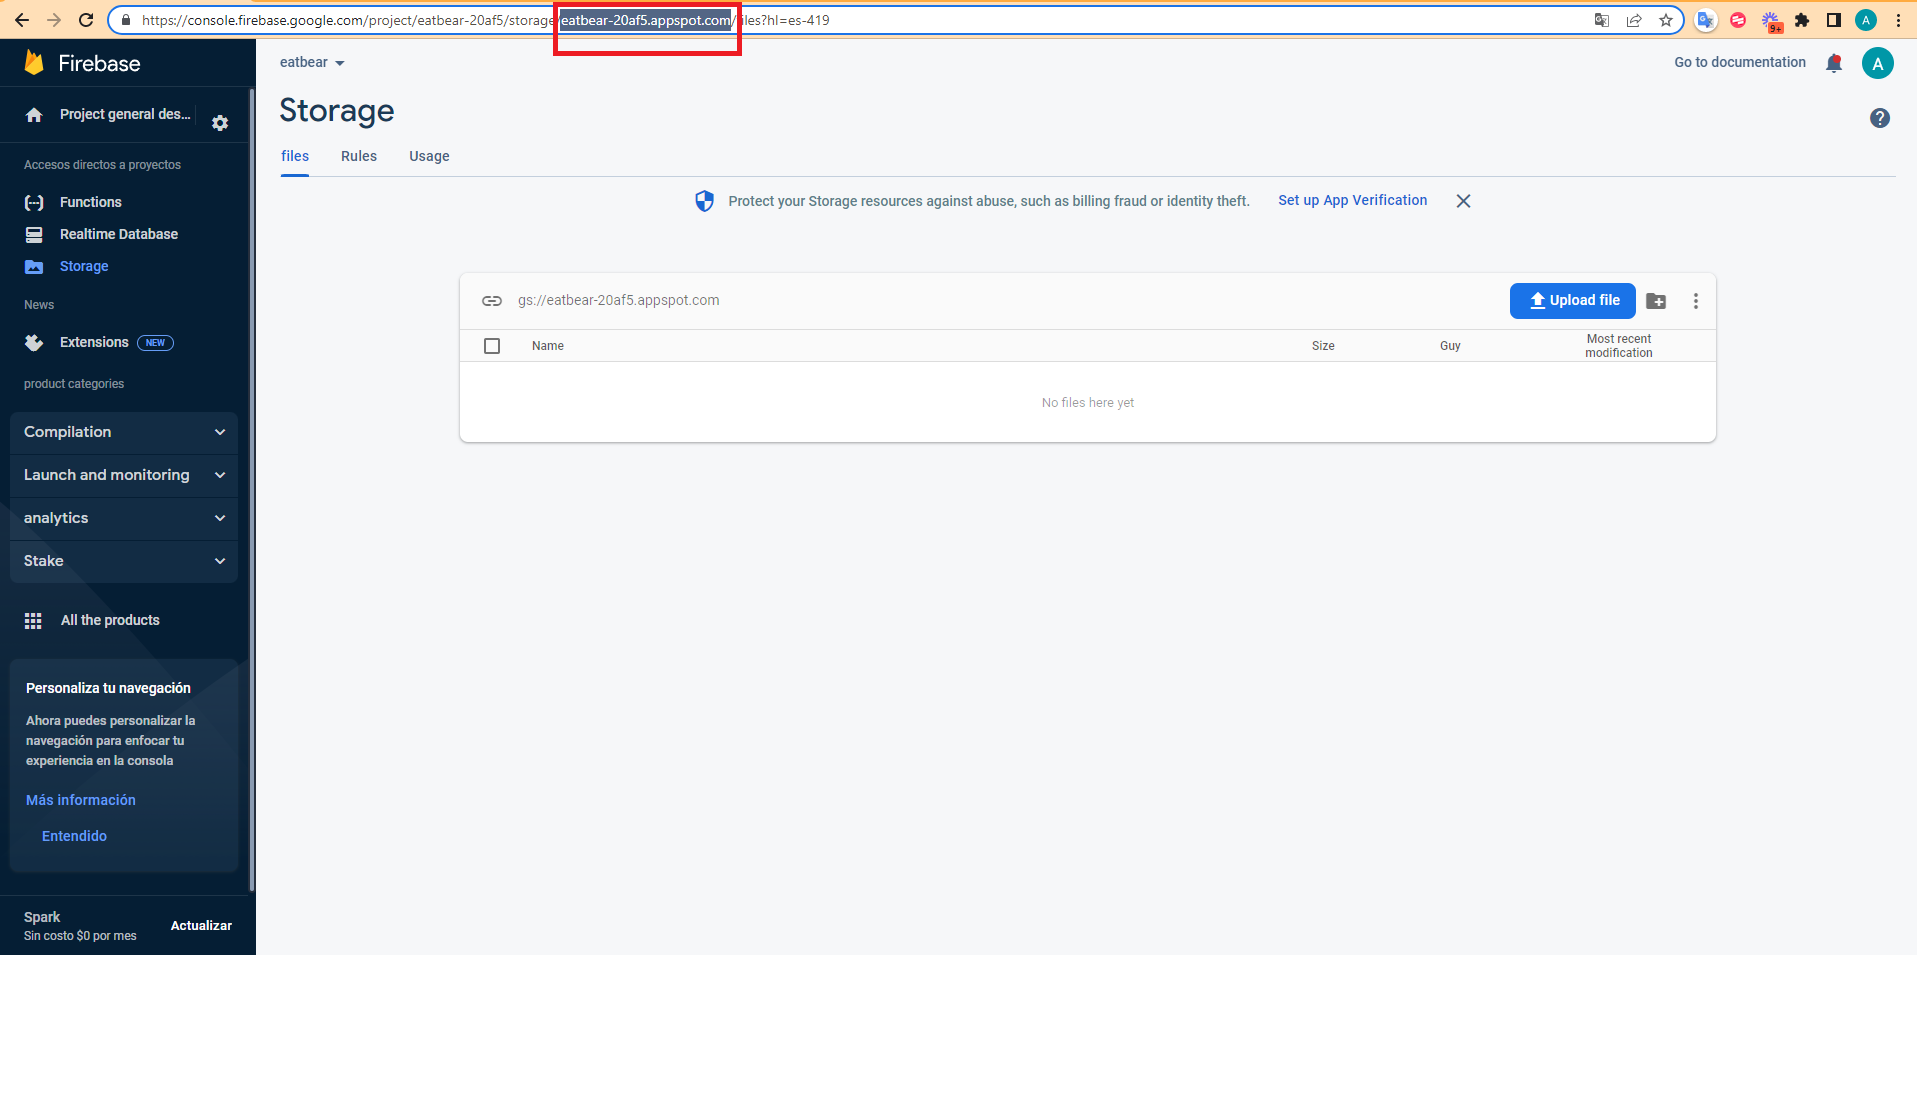
20.- Select the URL as is marked in the example, it’s important to note this info, as
it will be requested to generate your compilation.
- FIREBASE STORAGE URL: uber-eats-plantilla.appspot.com
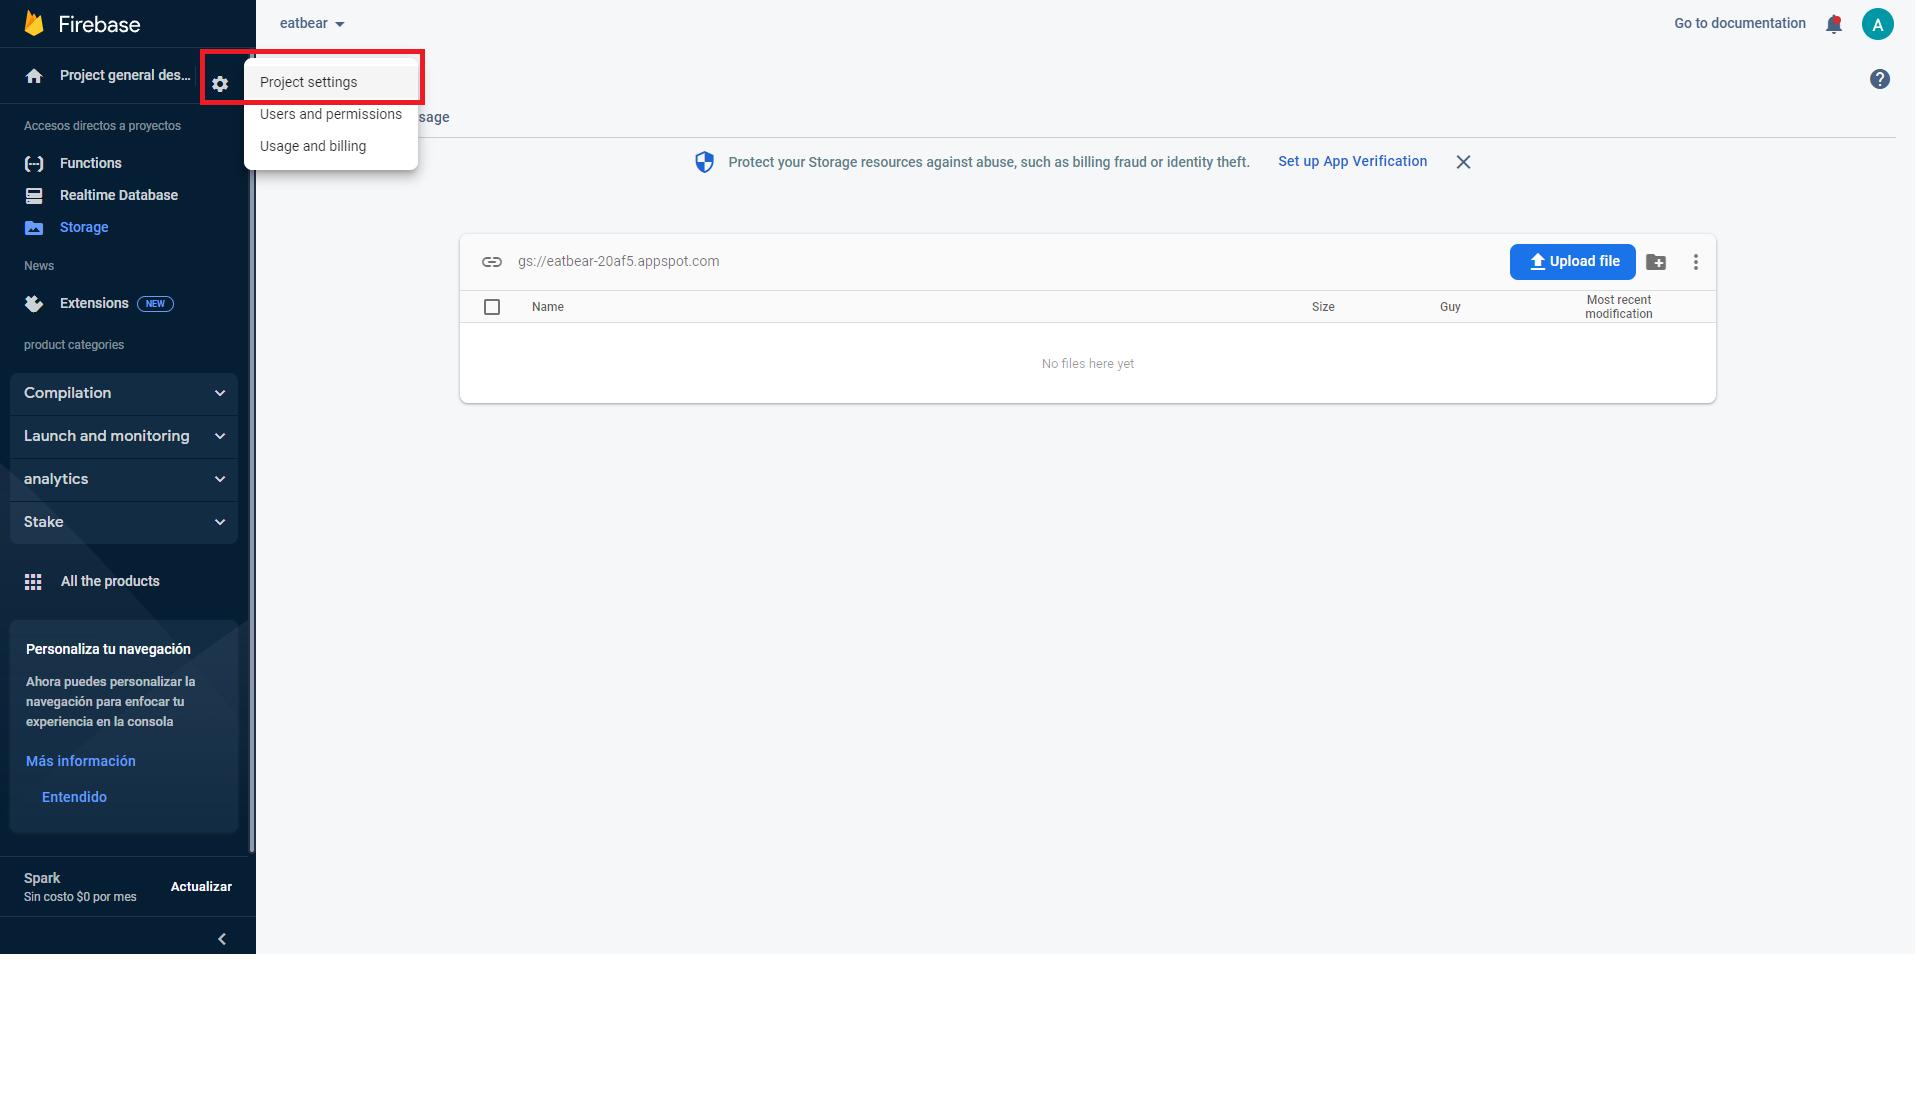
21.- Click on Settings, app settings, and select Services accounts.
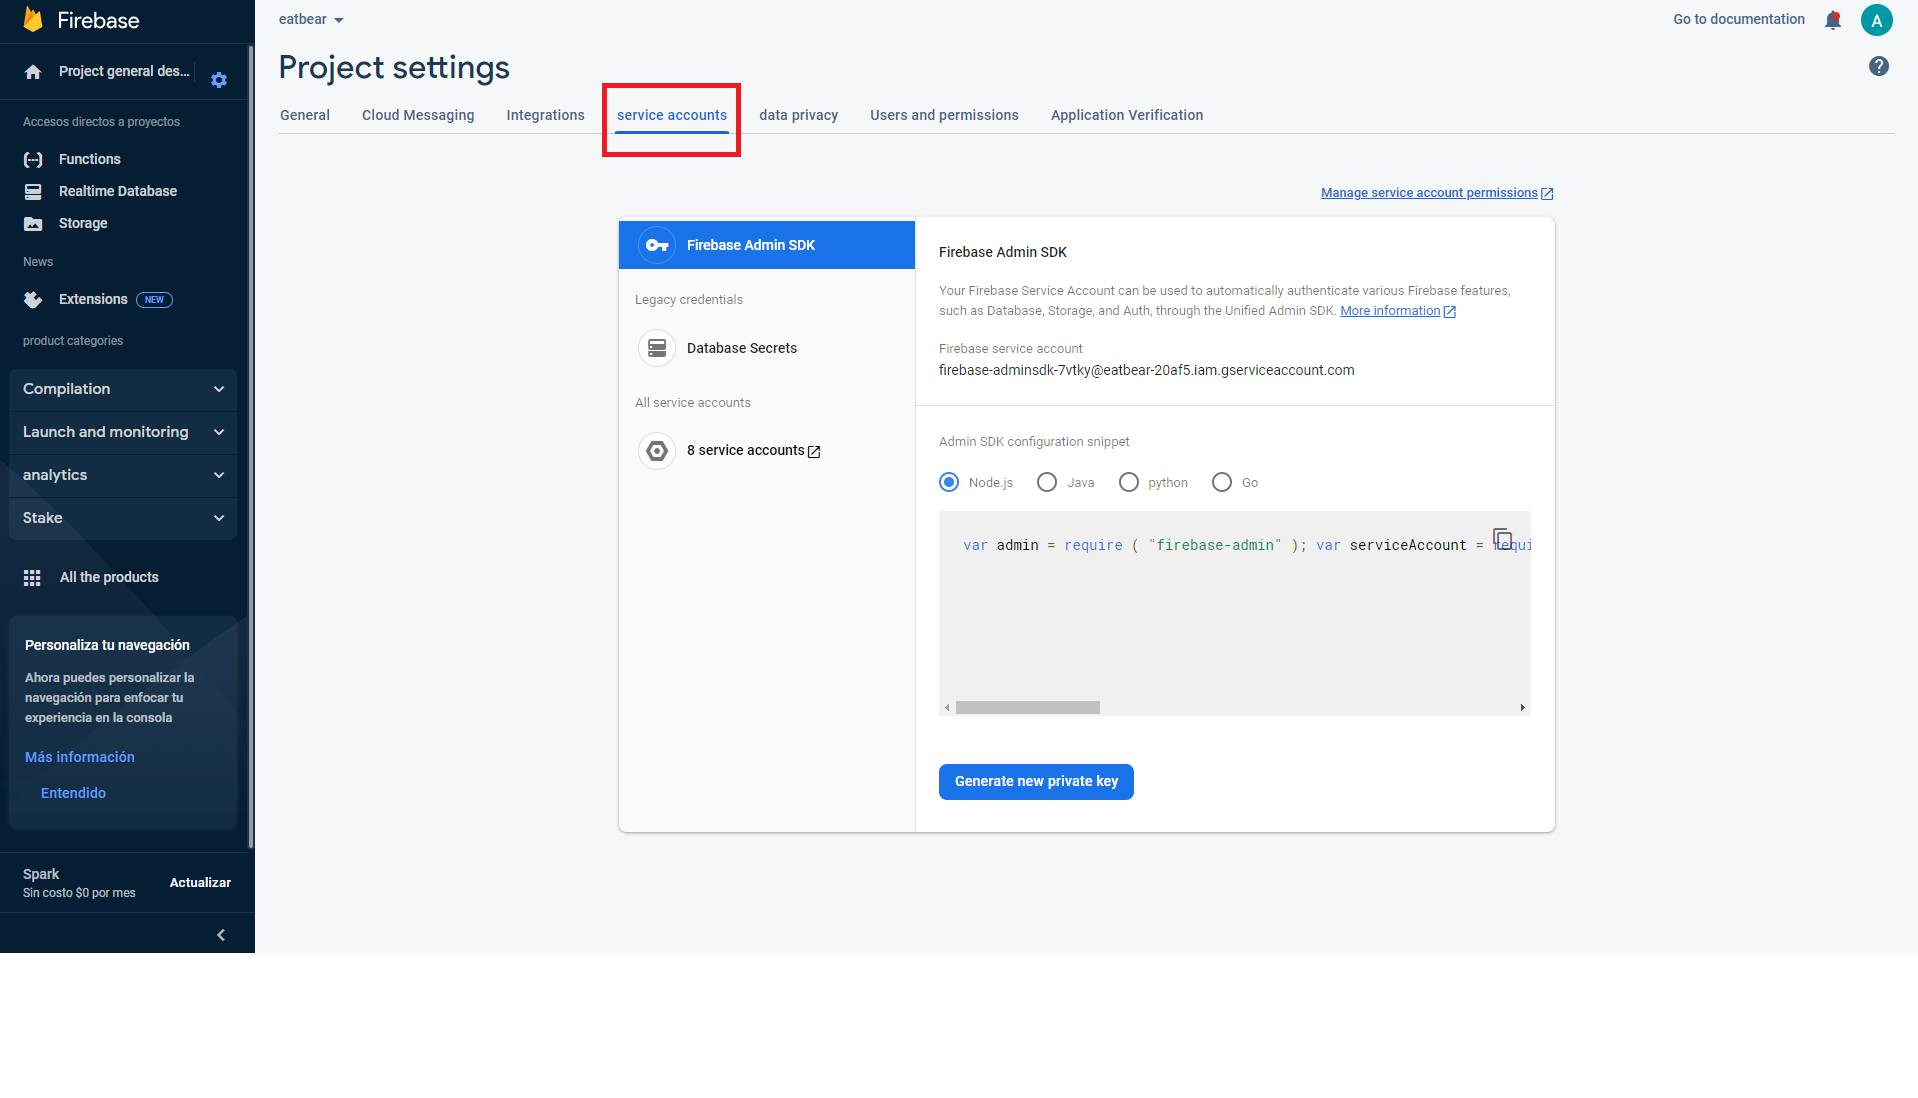
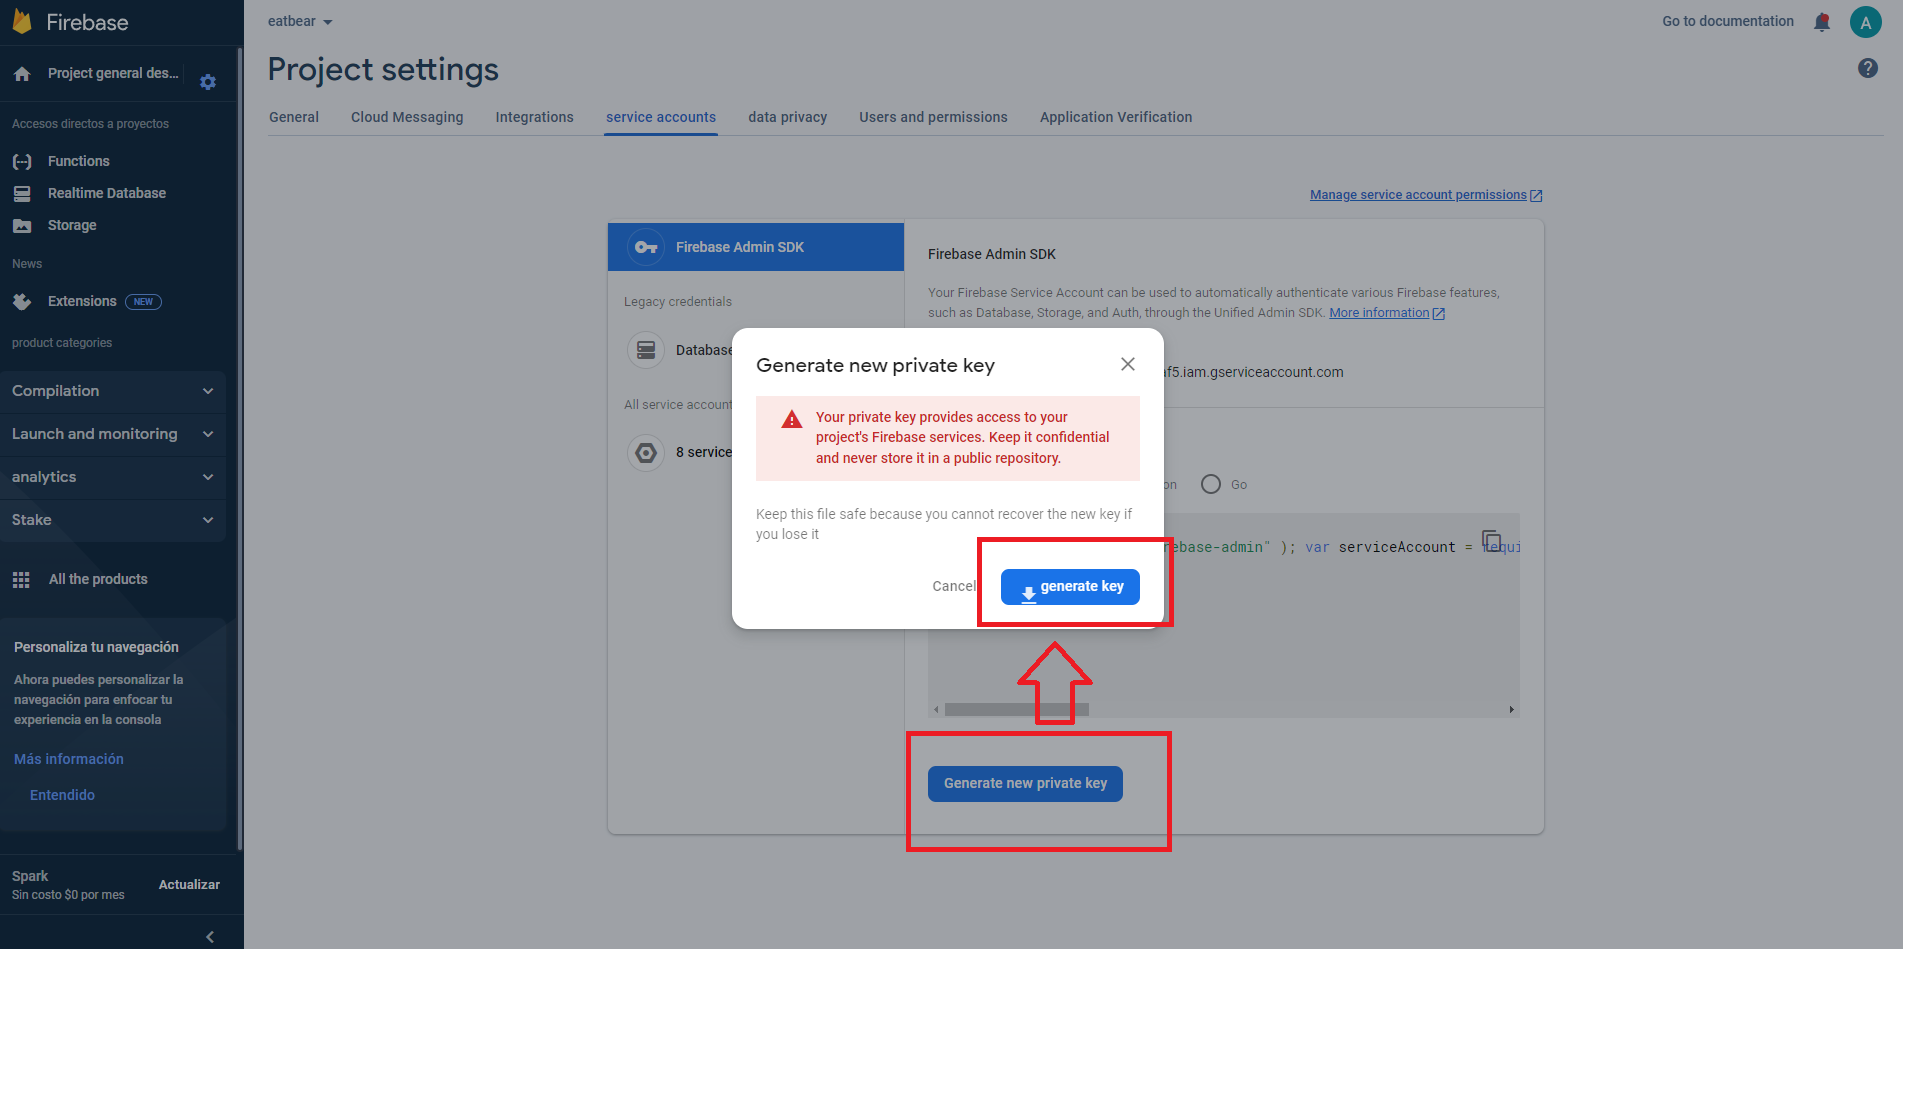
22.- Click on “Generate a new private key” and click on Generate key; a .json file, it’s
important to note this info, as it will be requested to generate your compilation.
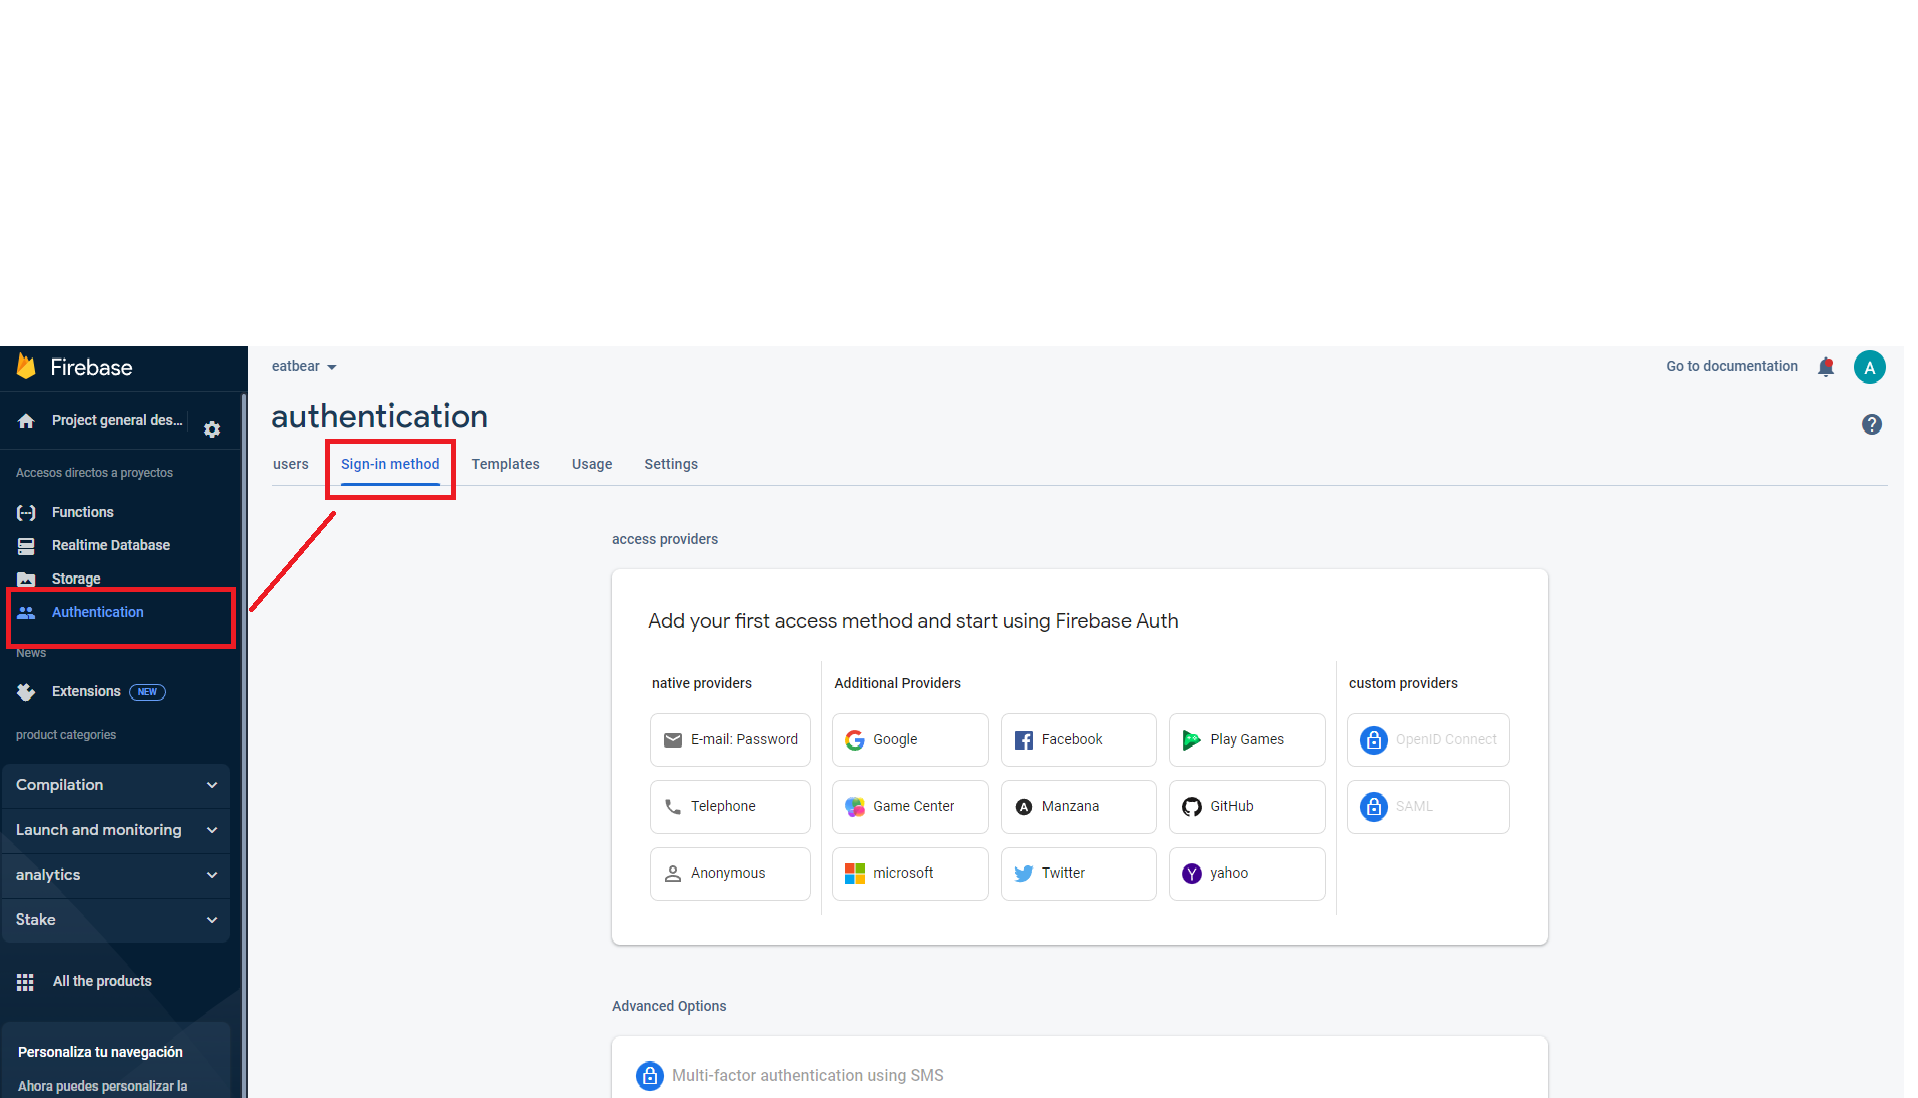
23.- Click on Authentication and select the Sign-in method.
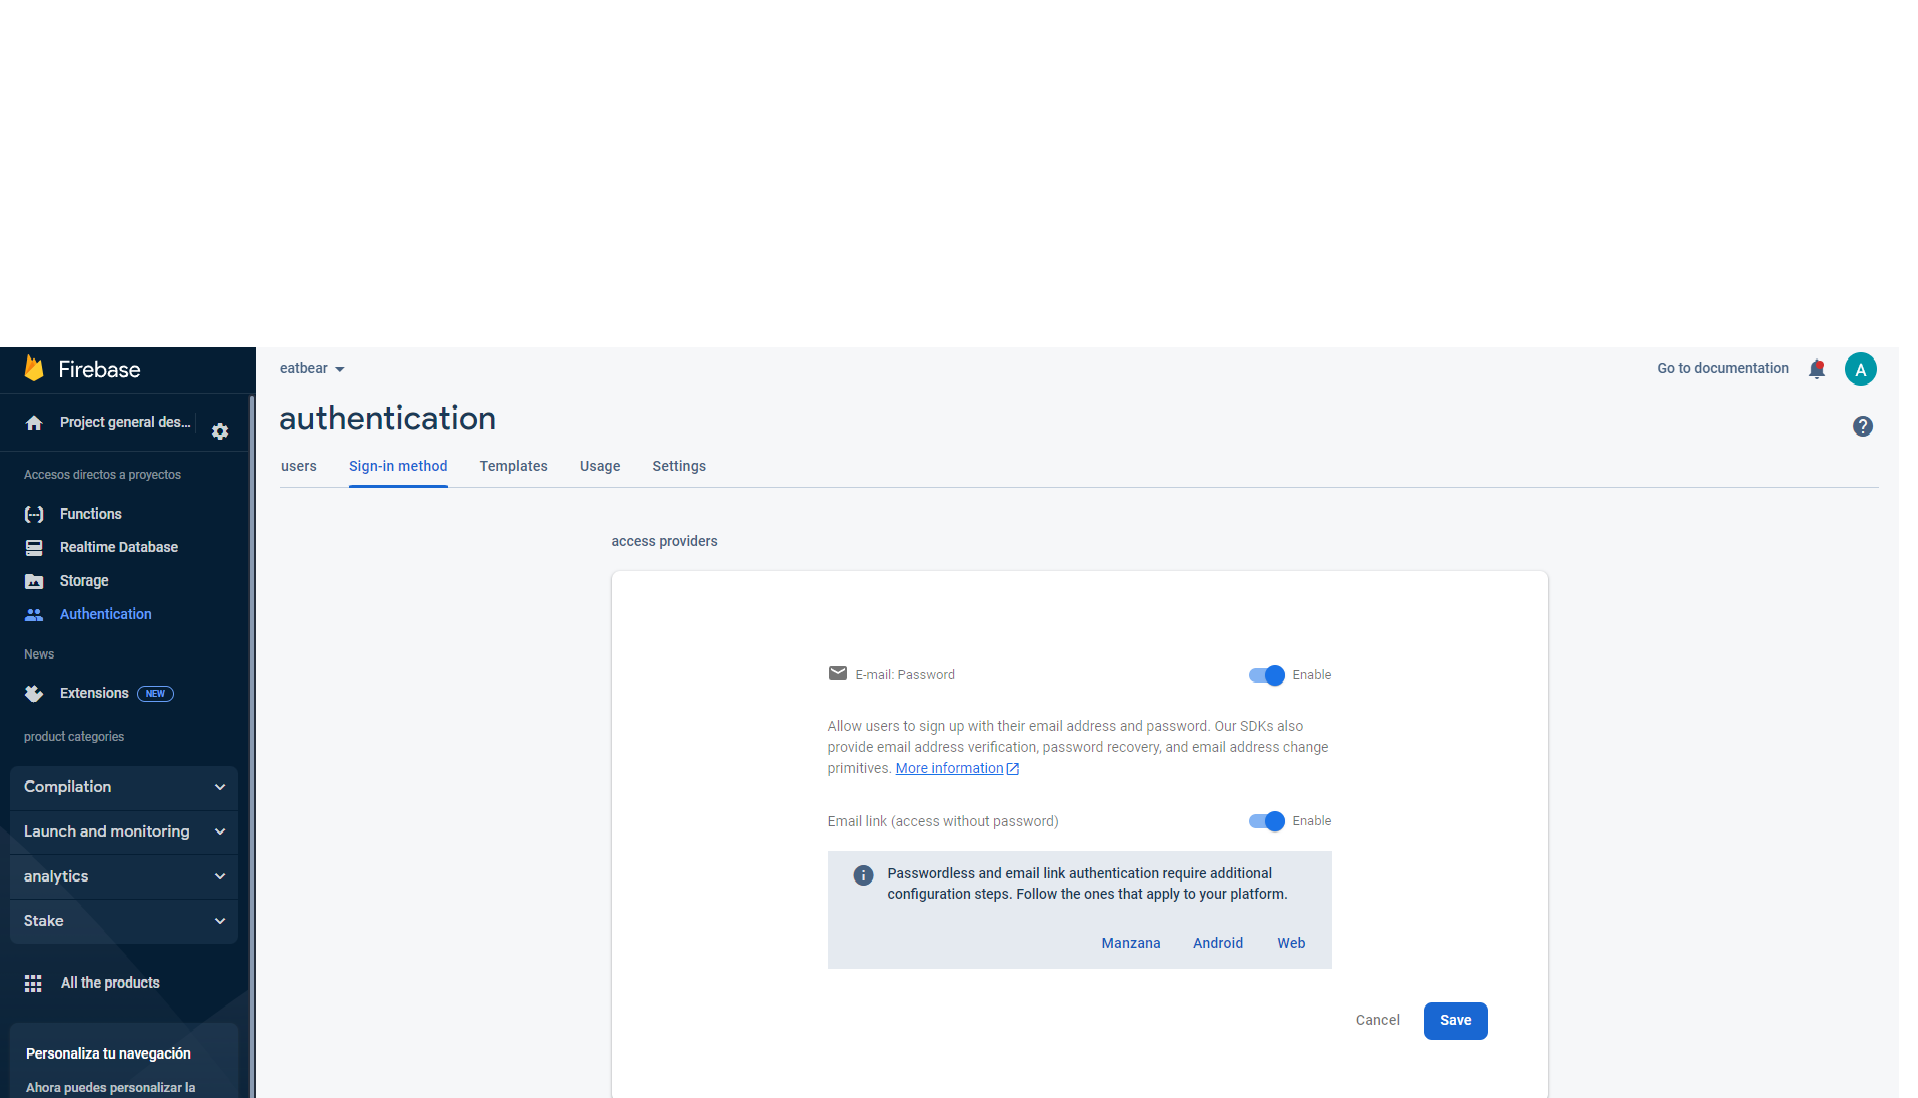
24.- Select Email/password, click on Activate, and Save.
25.- If one of your apps uses “Sign-in with Google”, click on Activate, select your
email address and click on Save.
26.- In the same section, in the lower part, you’ll find several accounts for the email
address and click on Save, select Allow the creation of many accounts with the same
email address, and click on Save.